Boat projects always start the same way:
“This will be quick.”
Reader, it was not quick.
After noticing aging seals and the early signs of leaks on SV Tatooine (Ovni 435), I decided it was time to replace the fixed portlights.
🔧 Step 1 — Removing the Old Portlights (Surprisingly Easy)
Getting the old fixed portlights out turned out to be… suspiciously easy.
In our case, they were no longer properly bonded to the hull — which is both convenient for removal and mildly concerning from a waterproofing perspective.
The process was straightforward:
remove all the screws
gently lift the plexiglass portlights
try not to overthink what this says about the previous seal
Thankfully, nothing was stuck. No heroic cutting.
🧼 Step 2 — Preparing the New Plexiglass Portlights
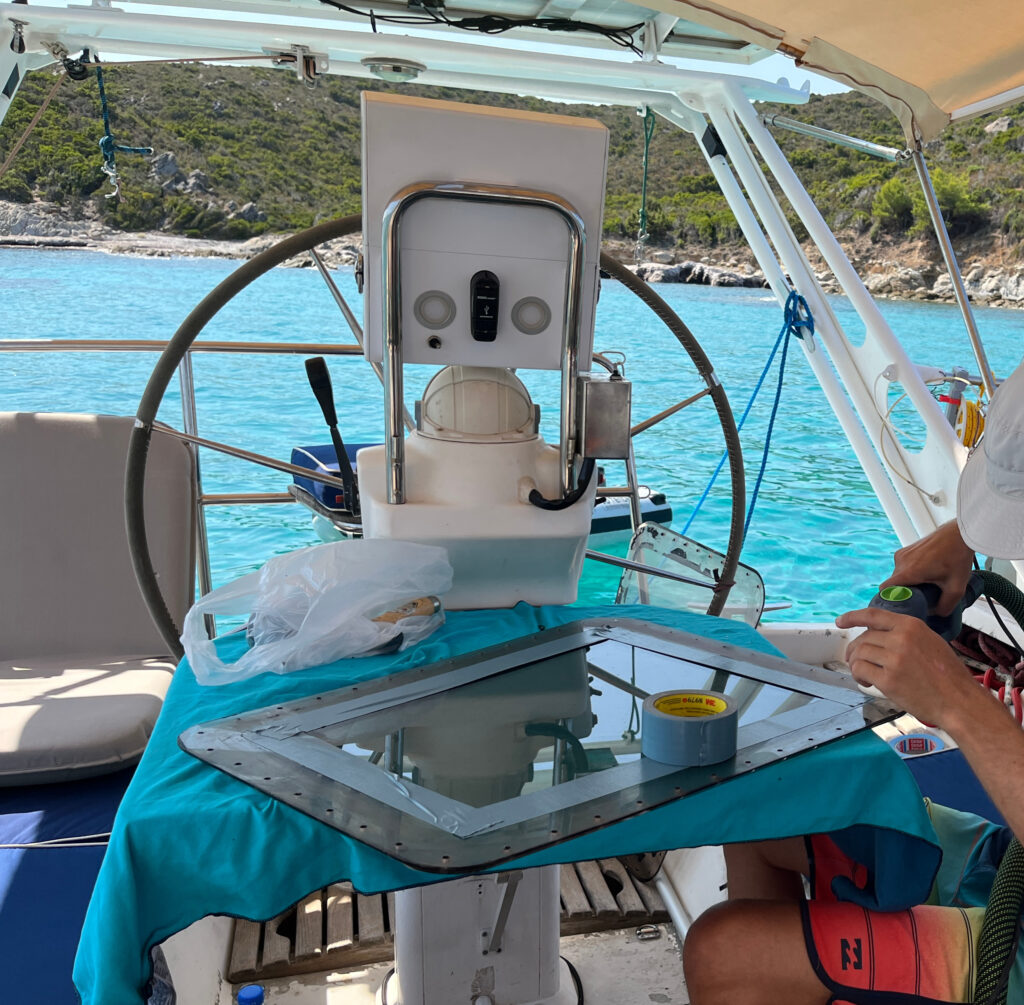
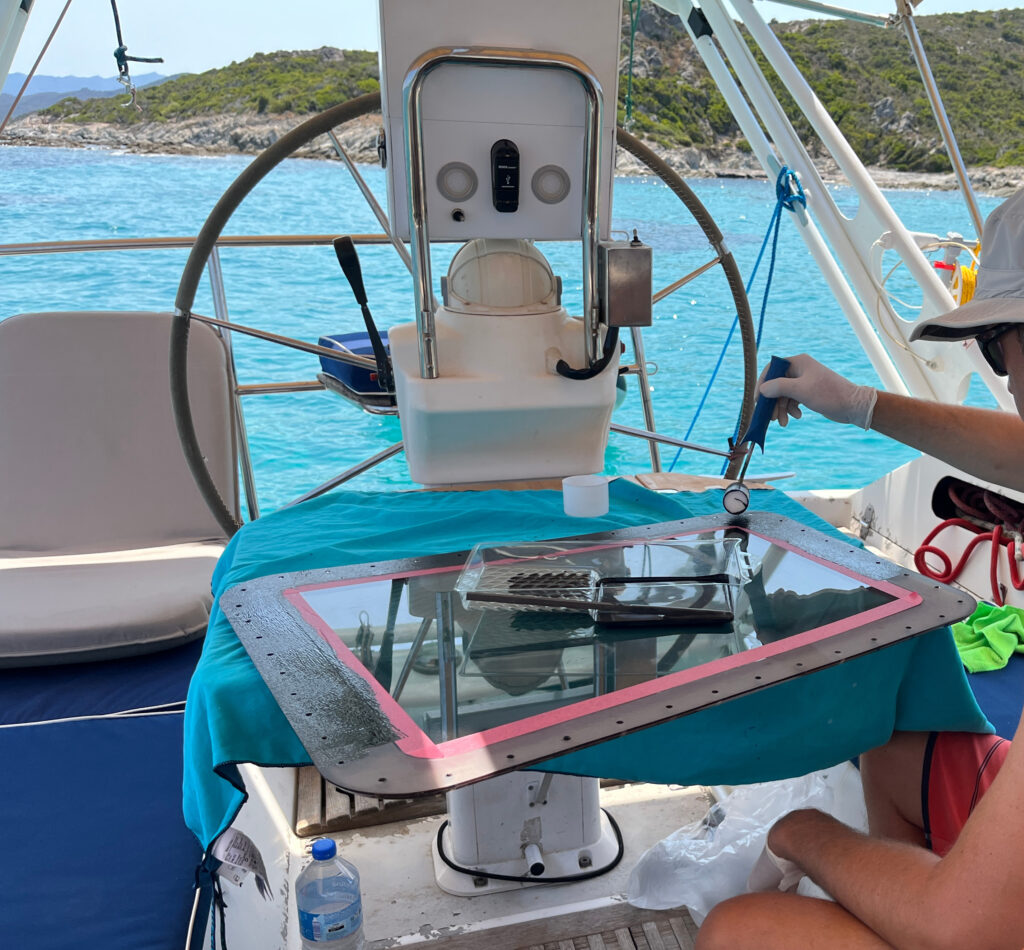
Before installing the new portlights, we had to tackle the less glamorous — but absolutely critical — part:
surface preparation
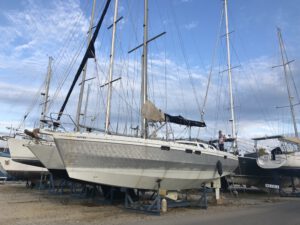
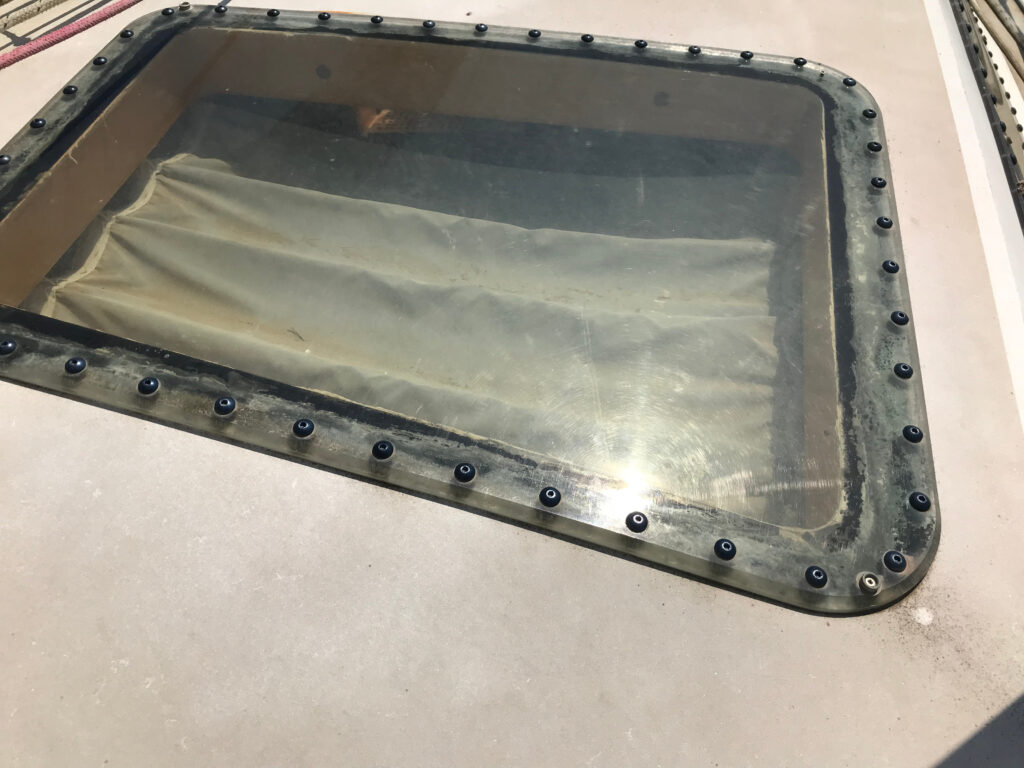
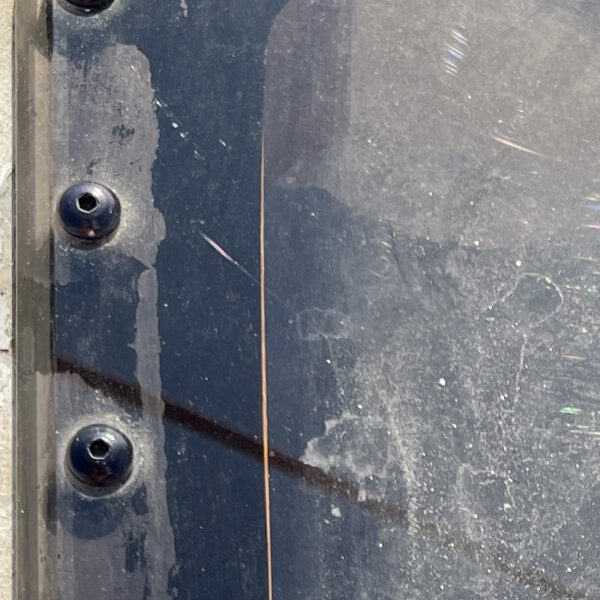
Because while removal had been suspiciously easy… the hull still looked like a full-blown crime scene of old adhesive.
What we did
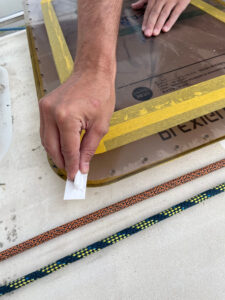
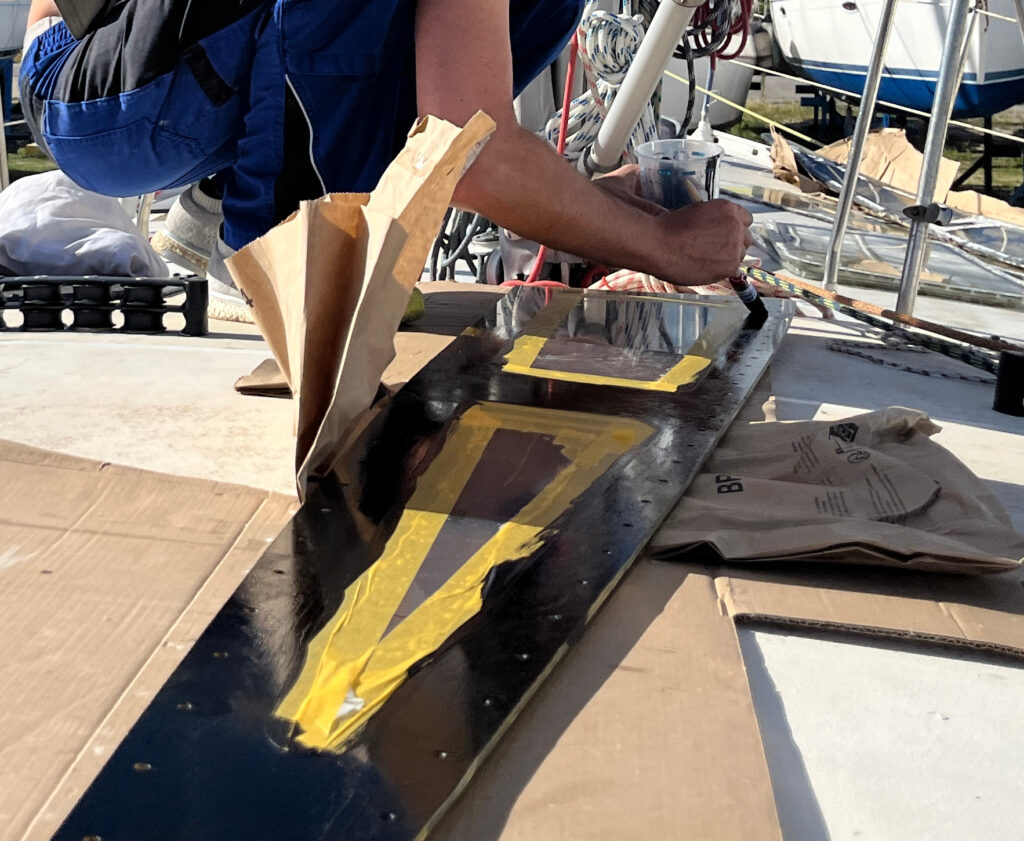
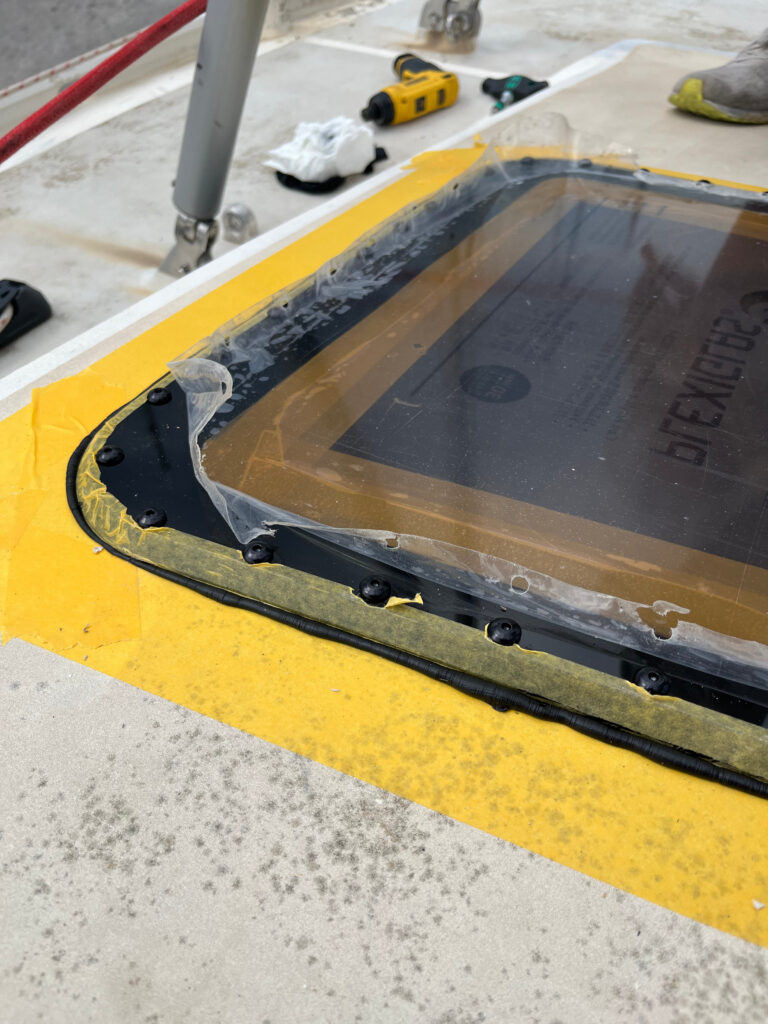
First, we thoroughly cleaned the hull where the old portlights had been mounted. Stubborn remnants of old glue and sealant were still firmly attached to the aluminum.
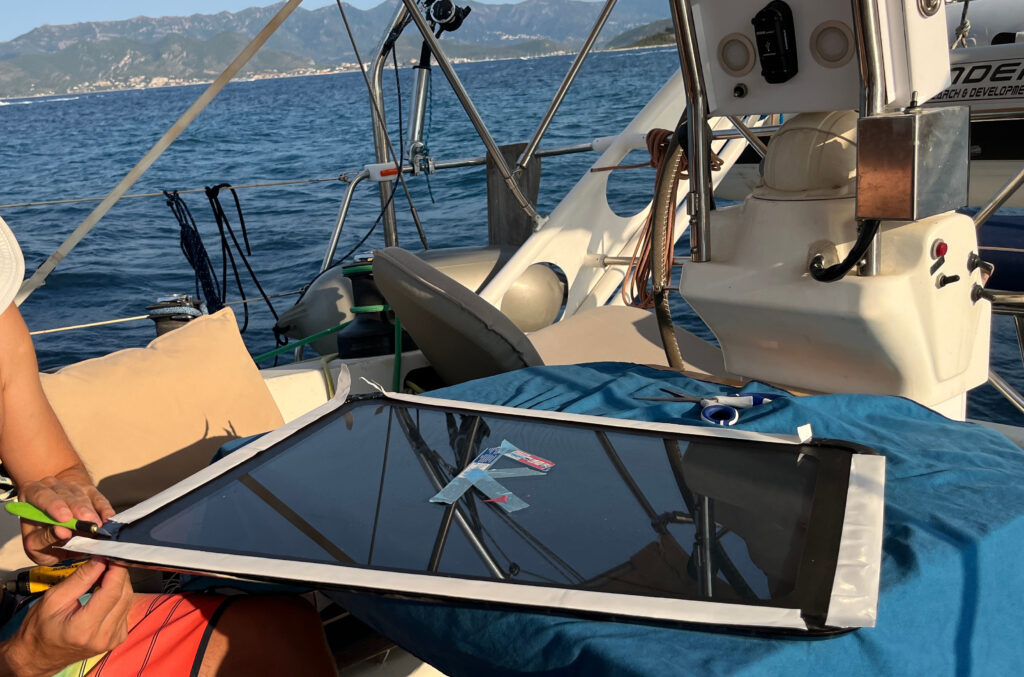
So the mission became very clear:
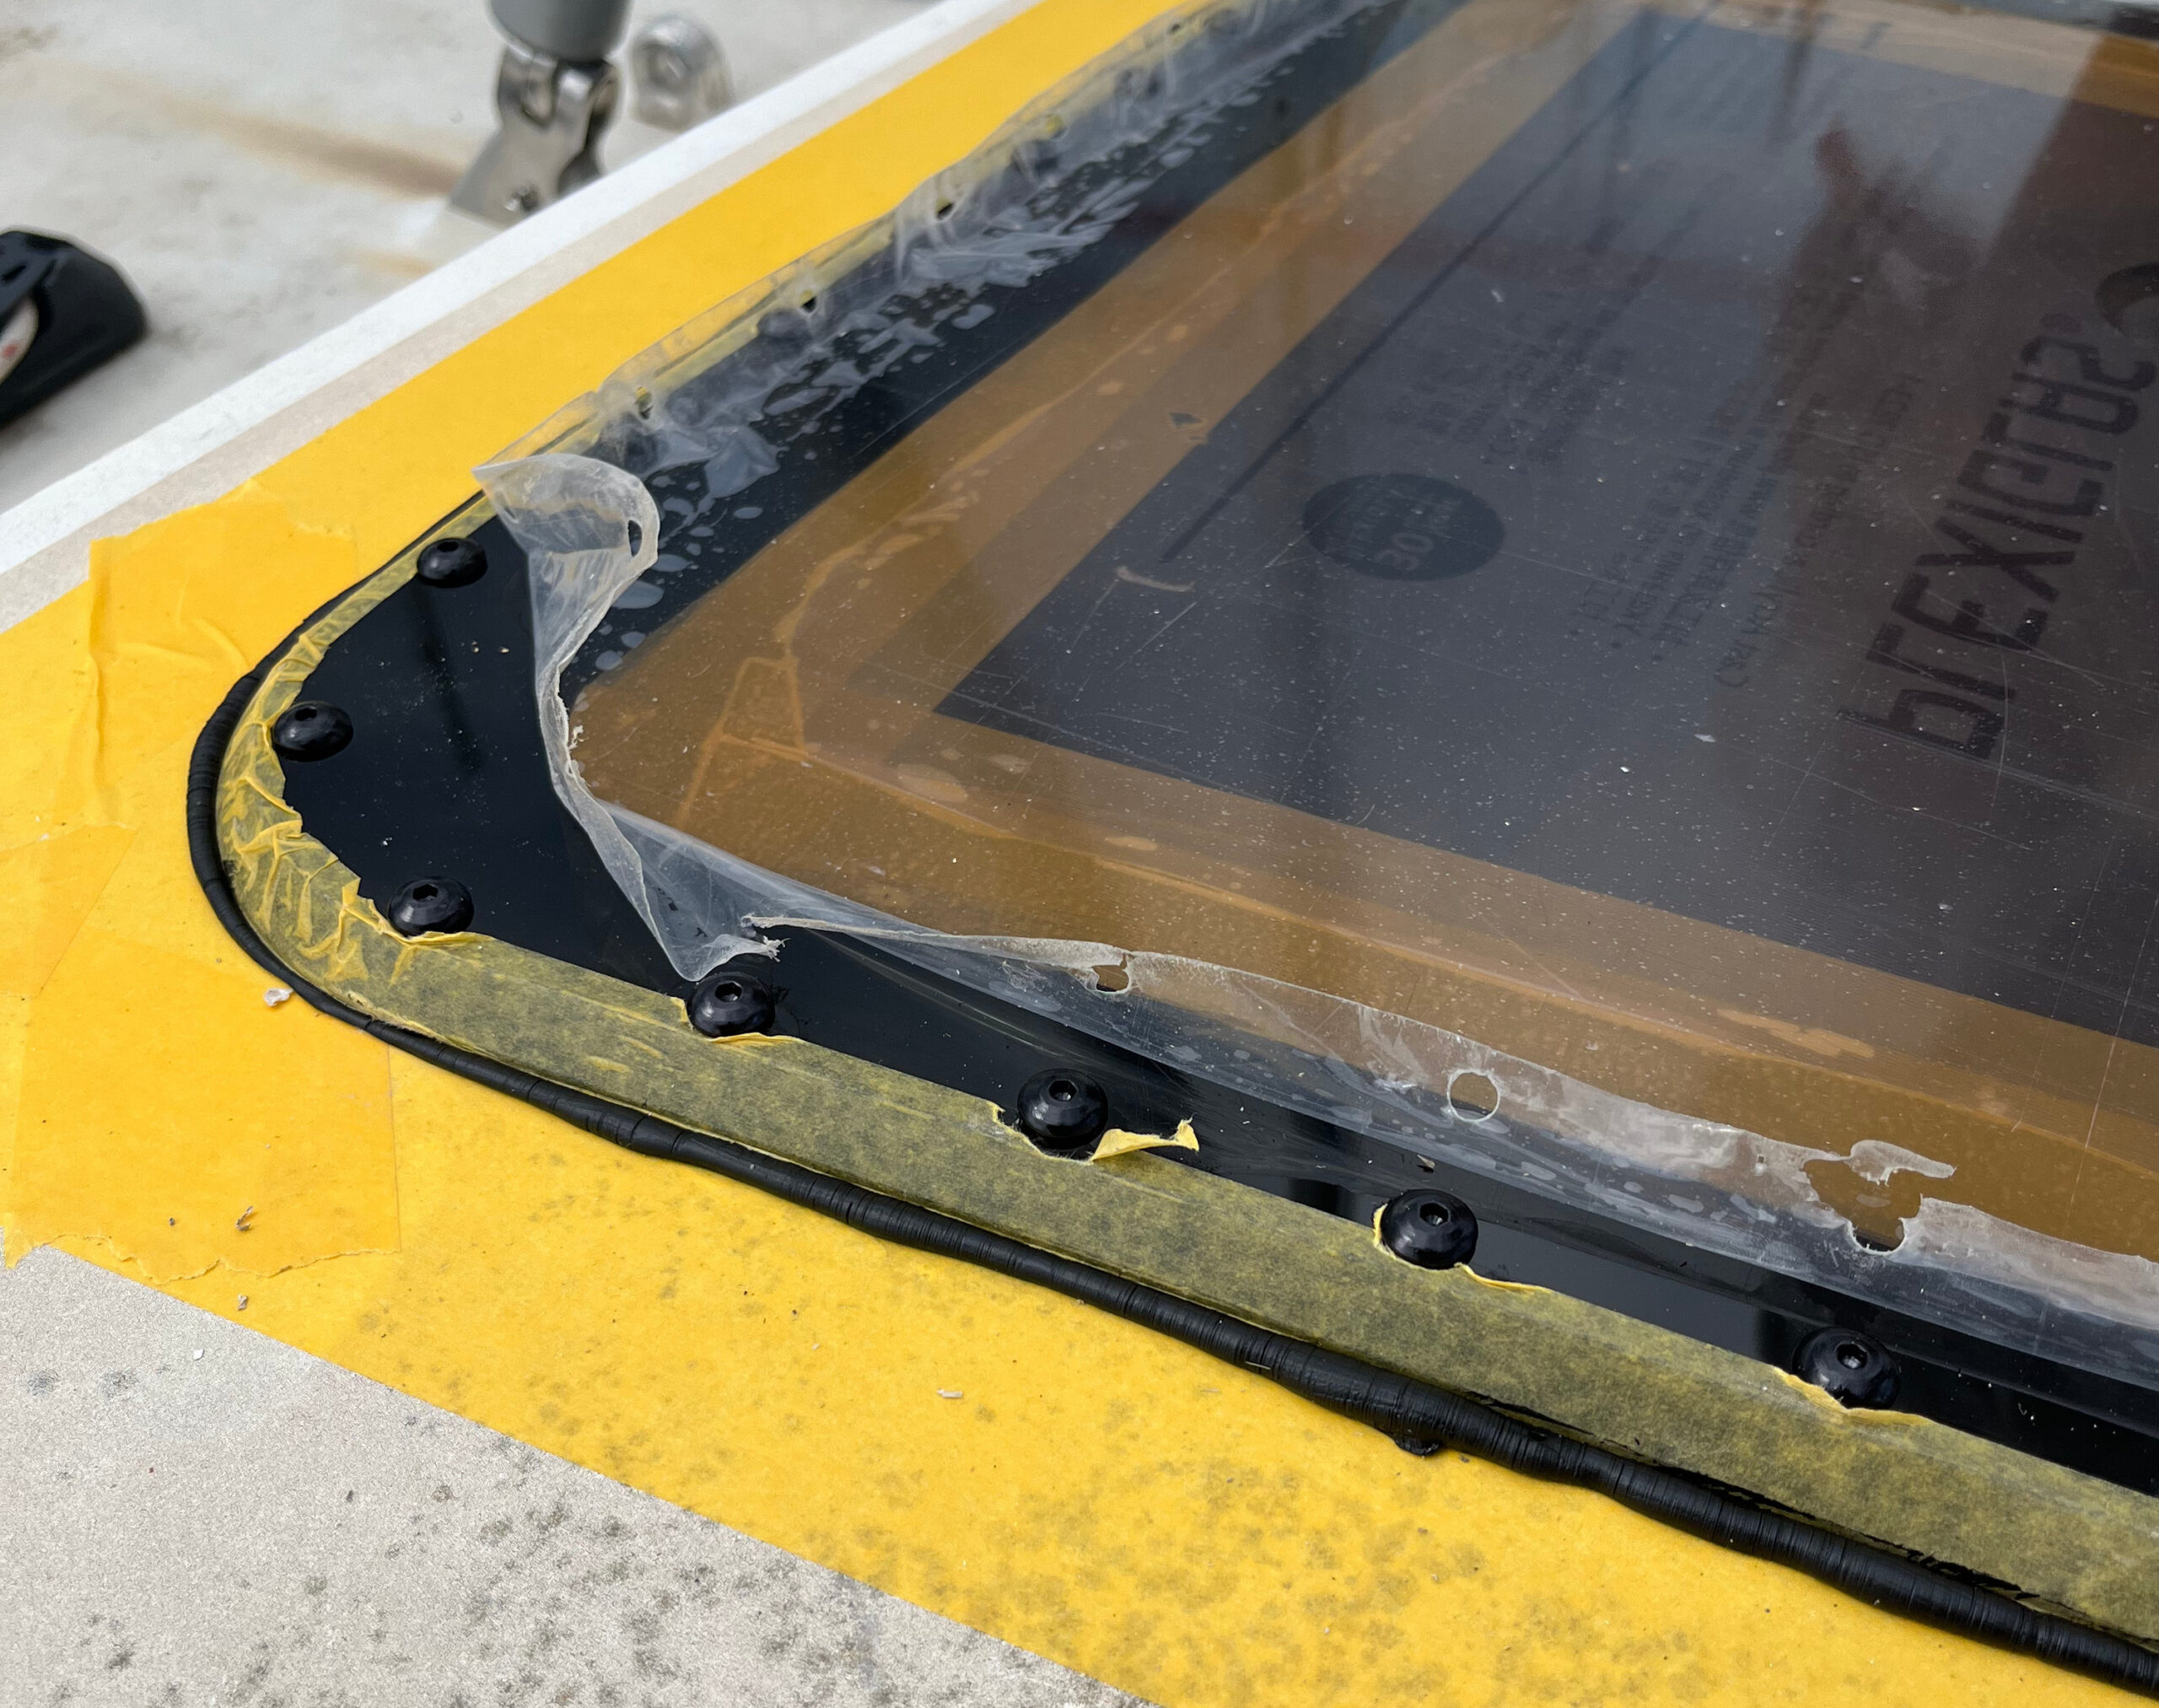
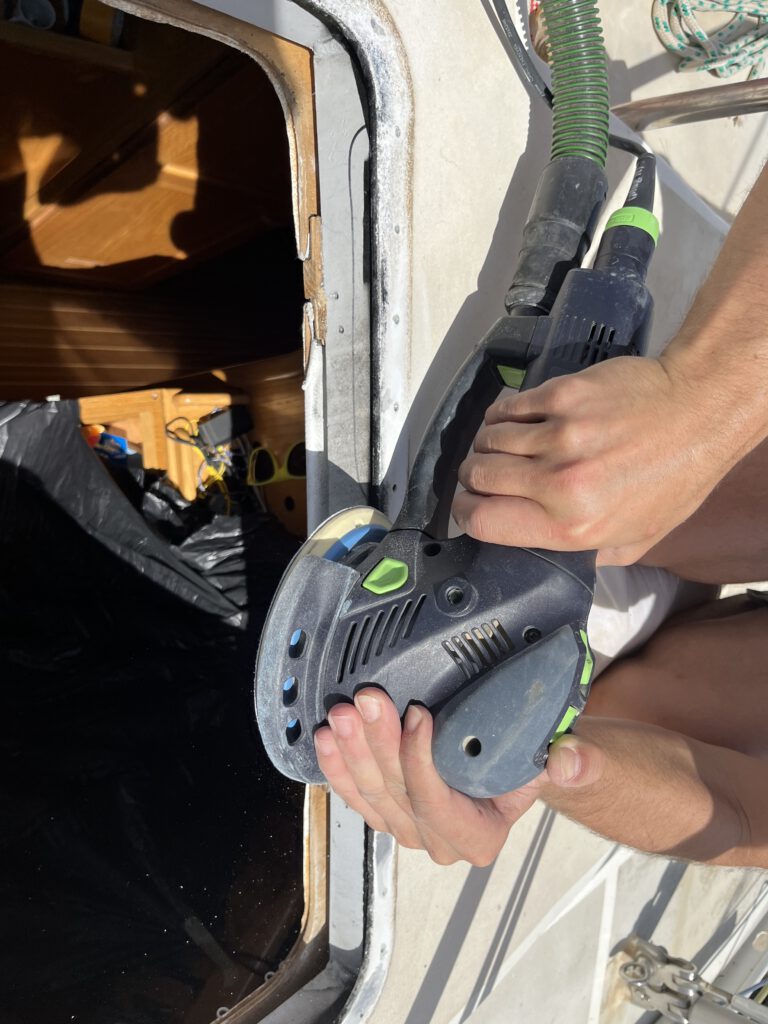
we removed all remaining old sealant
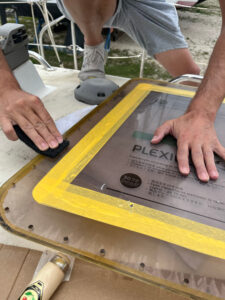
we properly cleaned the bonding surface
we created a smooth, clean base for the new installation
🛠️ Step 4 — Drilling the New Plexiglass Portlights
With the hull finally clean (and our patience slightly depleted), we moved on to preparing the new plexiglass portlights.
The first task was simple in theory:
👉 drill the screw holes
Because of course… nothing ever comes pre-drilled exactly the way you need it.
Using the old portlight as a template
To make sure the holes would line up perfectly with the existing ones in the hull, we used the old portlight as a template.
What we did
positioned the old portlight over the new plexiglass
drill through the old hole
drilled using a special drill bit for plexiglass /
PLEXIGLAS® Bohrer
And yes… there were hundreds of holes.
⚠️ First Attempt — Full Sika System (Spoiler: Didn’t Work as Expected)
🔩 Preparing the Aluminum Surface
According to the Sika guide, the logic is simple:
clean → lightly roughen → clean again → activator → primer → wait
In real life on SV Tatooine, it went like this:
lightly scuffed the contact area
vacuumed and wiped away the dust
cleaned everything carefully (no shortcuts here)
applied Sika Aktivator-205
⏱️ waited minimum 10 minutes (flash-off time)
brushed on Sika MultiPrimer Marine
⏱️ waited minimum 30 minutes before bonding
🪟 Preparing the Plexiglass (PMMA)
What we did
masked all necessary areas
lightly scuffed the bonding surface with very fine abrasive
(and used coarser paper on the edges where needed)vacuumed the sanding dust
wiped with Sika® Aktivator-100 using a clean lint-free cloth
⏱️ flash-off: min. 10 minapplied Sika® Primer-209 D in a thin, covering layer
⏱️ flash-off: min. 10 min
After that, the plexiglass should be ready for bonding.
🧴 Bonding with Sikaflex®-295 UV
Following Sika’s recommendation, we planned to install the portlights using Sikaflex®-295 UV with elastic spacers.
What we did (and what reality allowed)
positioned elastic spacers
made sure they did not interrupt the adhesive bead
applied Sikaflex®-295 UV
installed the plexiglass within 20 minutes
⚠️ Important real-world note
Sika recommends a minimum visible joint of 8 mm.
However, on our Ovni 435, we could not keep the full 8 mm spacing because the original screws supplied by Alubat were simply not long enough.
So we had to slightly reduce the spacing to match the available screw length.
Boat projects… always a negotiation between theory and reality.
Final Step — Screwing Down & Tape Removal
With the portlights properly seated in the sealant, we moved to the final (and very satisfying) step.
What we did
carefully installed and tightened all screws
checked that the sealant compressed nicely all around
trimmed the excess sealant that had squeezed out
and finally… removed all the masking tape
That last part is always the most rewarding moment — when the lines come out clean and the whole thing suddenly looks like it was done by someone who knew what they were doing.
This project actually looked… right.
⚠️ Six Months Later — Confidence Was… Premature
something wasn’t right.
A closer look confirmed it:
👉 the primer on the plexiglass was starting to detach.
Like … everywhere!
Being responsible boat owners (and slightly desperate at this point), we tried to reach out to Sika for advice.
After some determined searching, we discovered that there is no straightforward support channel for private users.
Which was, frankly… a bit frustrating.
So if anyone from Sika ever reads this:
👉 a small, visible support contact for private DIY sailors would be very appreciated.
✅ Second Attempt — Acrylic Paint + Butyl (Much Better)
Anchored in a quiet, beautiful bay in Corsica — the kind of place where everything should go smoothly — we unpacked the grinder and the vacuum.
First, we had to pull the portlights out… again.
This time, however, they were much less cooperative. After six months in place, everything was sticking just enough to make the job properly annoying.
We wanted to reuse the same plexiglass, which meant:
👉 zero brute force
👉 maximum caution
Eventually, they came out intact — which felt like a small but very meaningful victory.
With the portlights finally out (again), we went back to the now very familiar ritual:
👉 clean → roughen → clean again → acrylic paint
This time we roughened the surface using a random orbital sander instead of doing it by hand.
For the protective layer, we used:
👉 Lignodur FlexGuard 871
It’s a durable exterior weather protection paint based on pure acrylic, and we chose it for a few key reasons:
water-based
very good UV and weather resistance
good elasticity
strong coverage
designed for outdoor use
We cleaned again the hull where the portlights had been mounted with sikaflex.
After letting the acrylic paint dry for about 5 hours, we moved on to the sealing.
This time we:
applied the butyl tape directly onto acrylic paint
positioned the plexiglass onto the opening
slowly and evenly screwed the windows back in place
The butyl compressed nicely.
On the inside, we first removed the wooden porthole frames.
As expected, the butyl compressed and squeezed out around the edges .
We carefully trimmed the excess butyl inside and outside.
Then we reinstalled the wooden frames back in place.
After three months, the acrylic paint + butyl solution on the top portlights still looks… honestly, perfect.
Of course, on a boat we have learned not to celebrate too loudly — but so far, this approach is looking very promising.
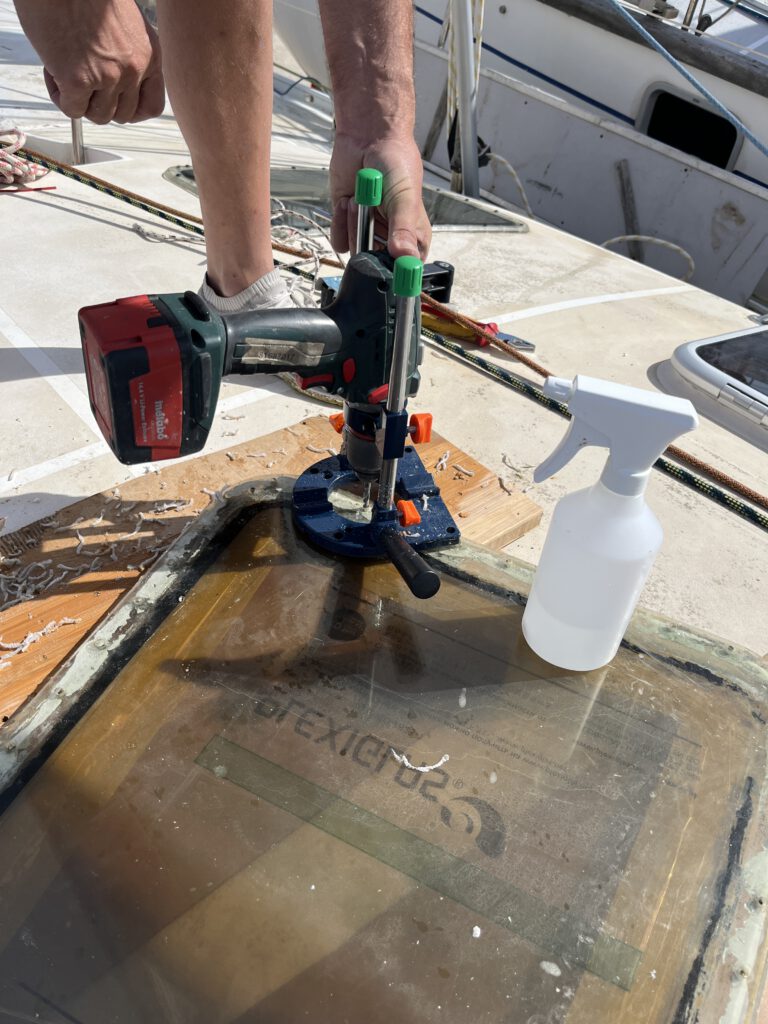
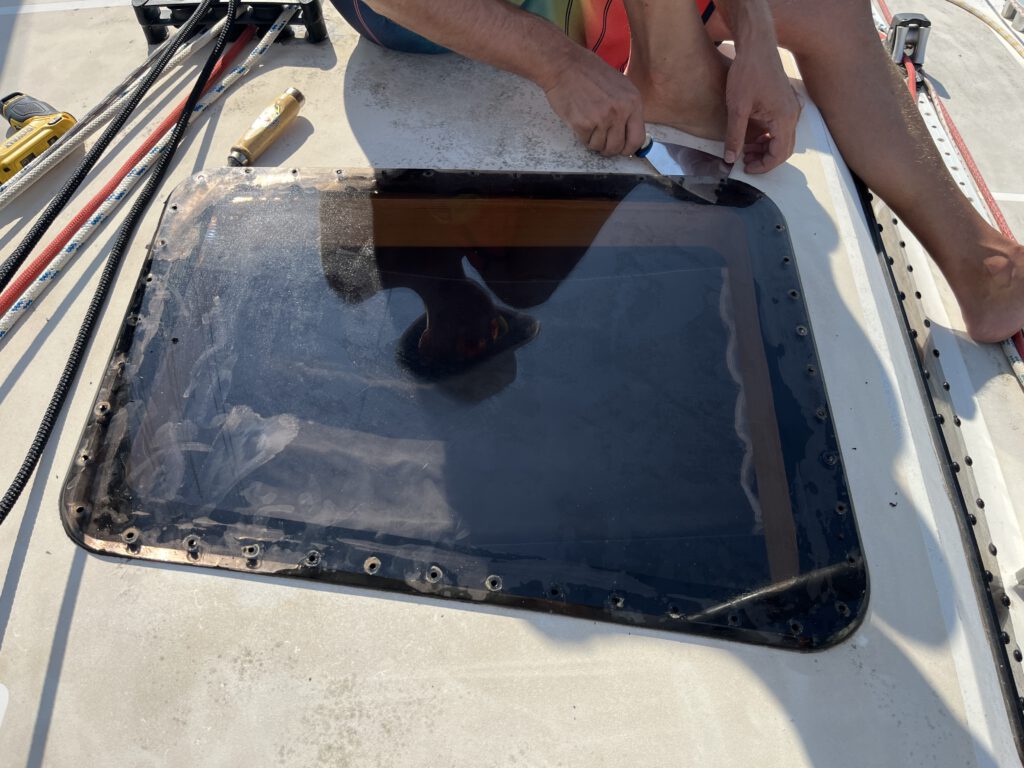
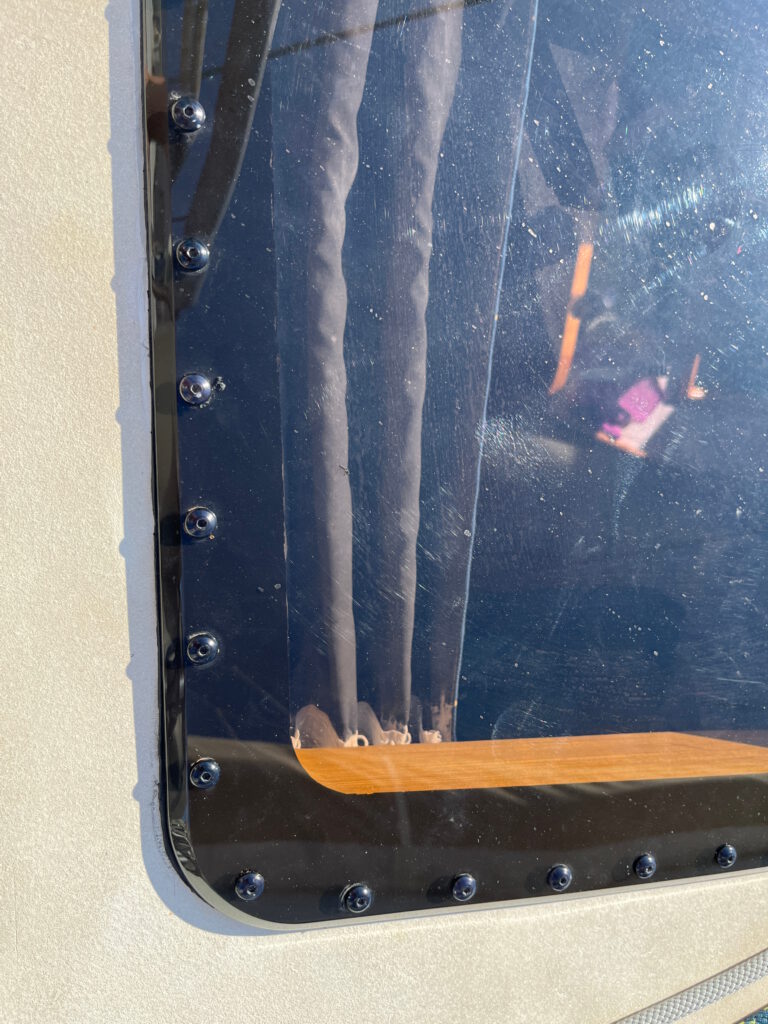
Encouraged by the results, we are now planning to apply the same method to the deck-side portholes.
This time, however, we came prepared:
we ordered longer screws.
Because if there is one thing SV Tatooine keeps teaching us, it’s this:
the second attempt is always smarter than the first.
A Big Thank You
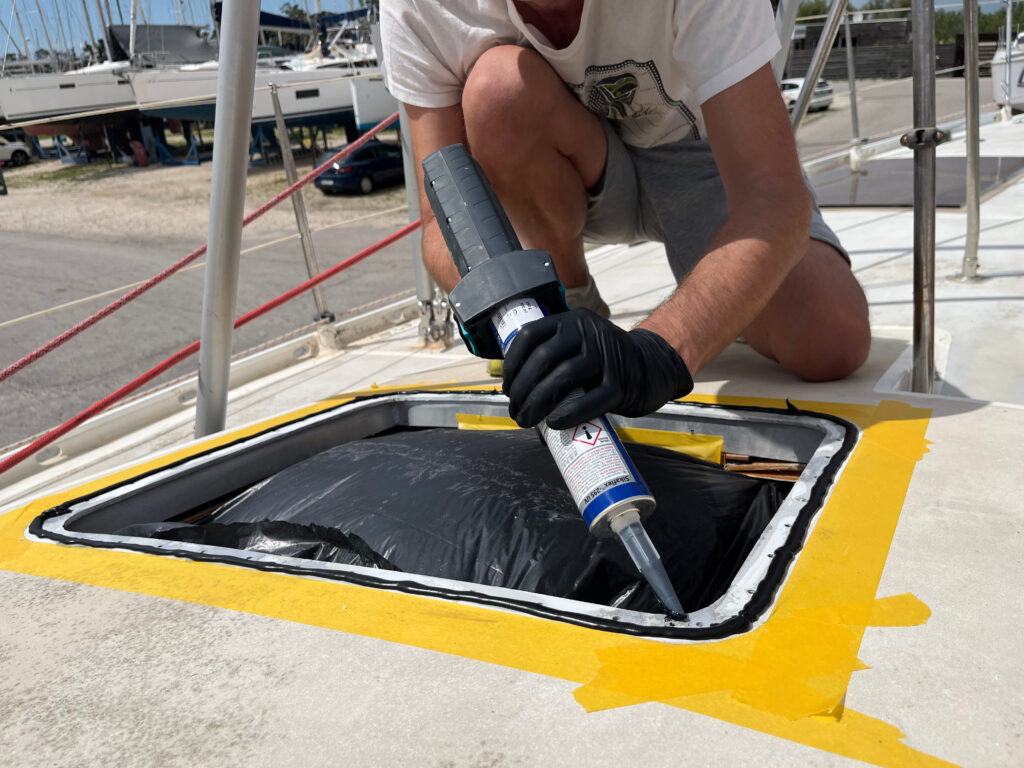
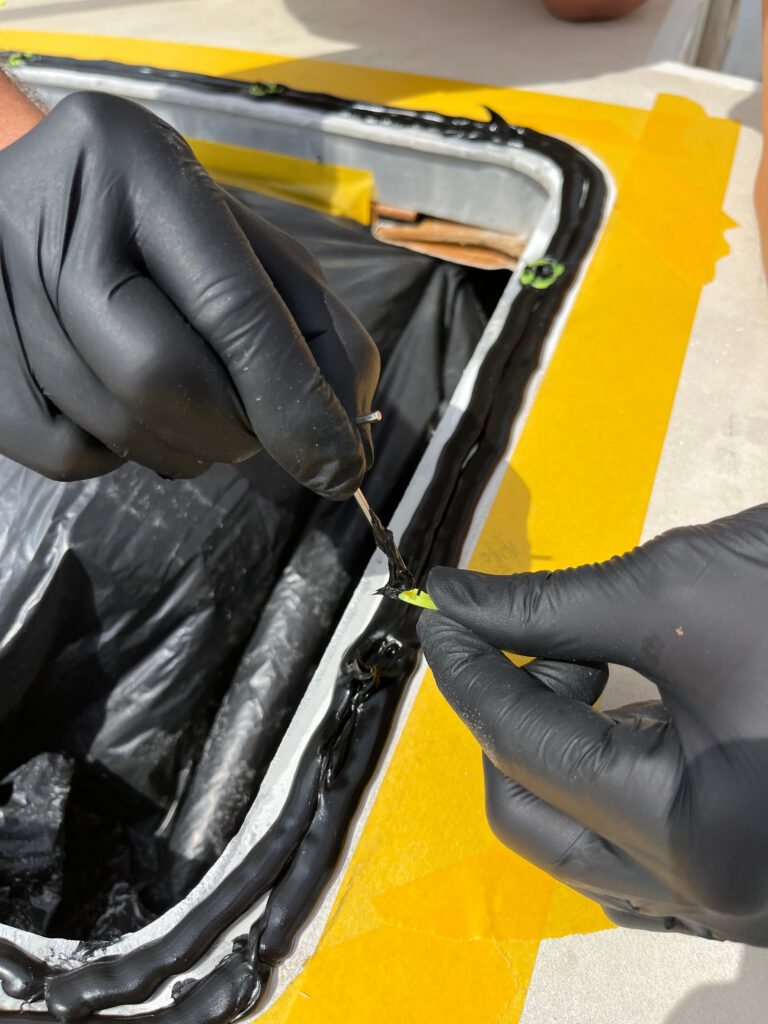
A special thanks to the Alubat Ovni Owners group for pointing us toward the butyl solution. The Ovni community truly is something special.
Wishing you fair winds and dry portlights,
Maria [ on SV Tatooine]