Having a functional and space-efficient refrigerator is essential, especially in the limited confines of a boat. In this blog post, we will guide you through the process of upgrading a toploader fridge to a drawer fridge specifically tailored for the Alubat Ovni 435. This modification will optimize your space, improve organization, and enhance energy efficiency. Let’s dive in!
1. Removing the Old Toploader Fridge:
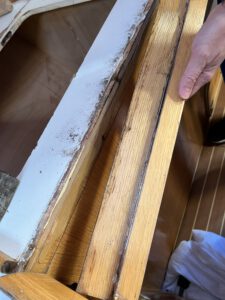
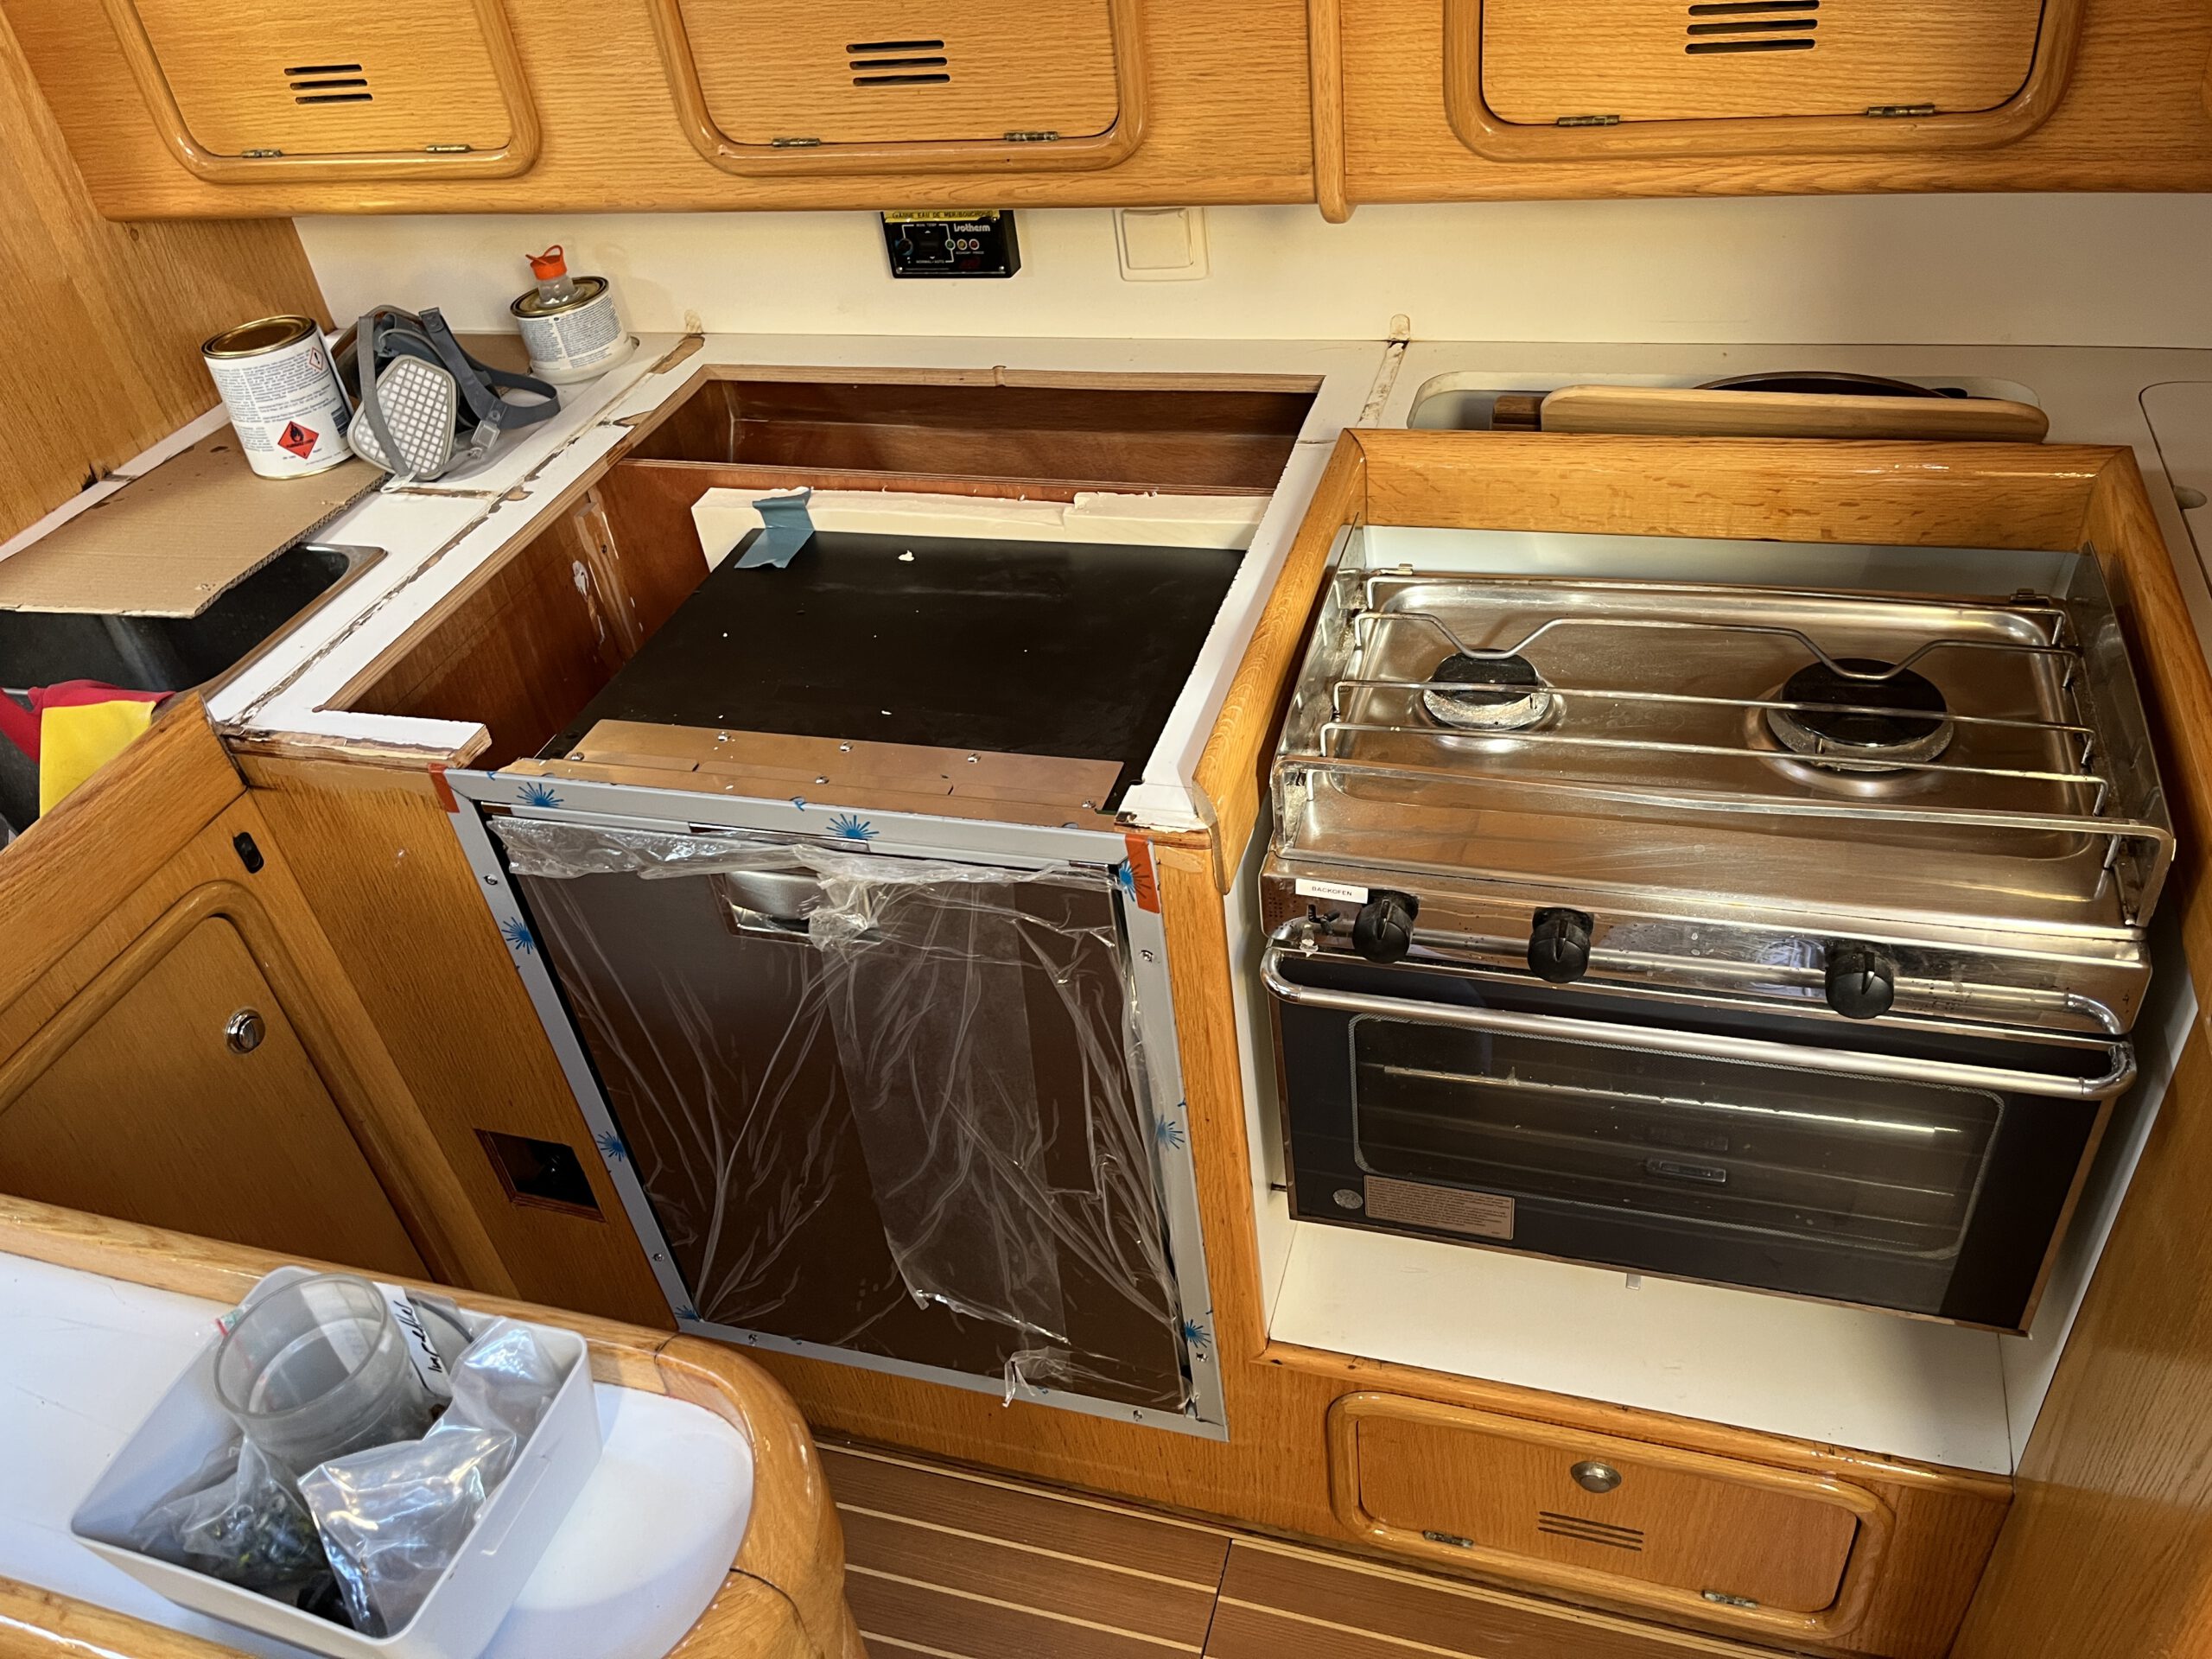
To begin, carefully remove the old toploader fridge from your boat. Due to the boat’s unique design, it may be necessary to disassemble the fridge into smaller pieces to safely take them out through the top opening. Take your time and ensure that no damage is caused during the removal process.
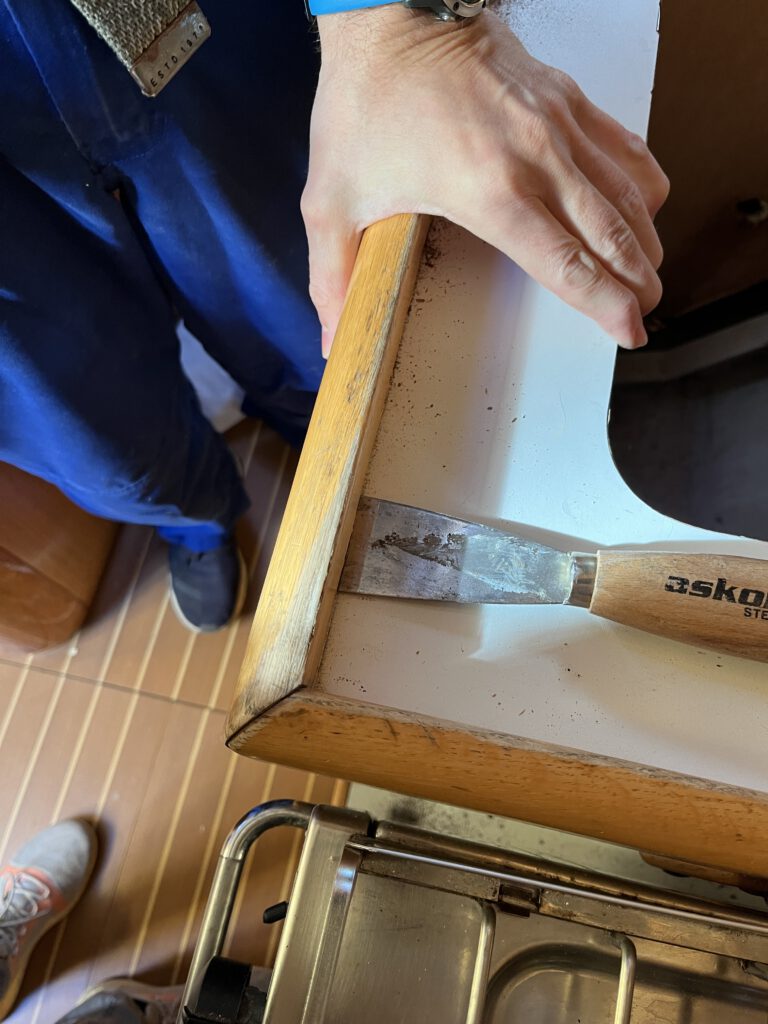
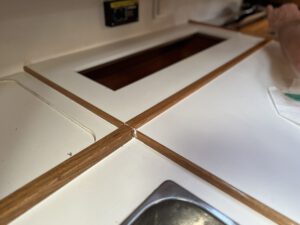
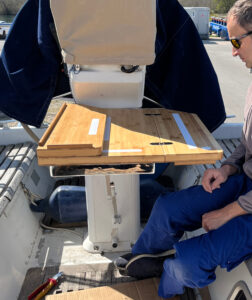
The handrails and borders are securely attached to the countertop using a strong adhesive, such as Sikaflex. To remove the handrails and borders, gently slide a sharp utensil, as shown in the picture, between the countertop and the border. This will help loosen the adhesive bond. Exercise caution during this process to avoid any damage to the handrails/borders.
2. Measuring the Space:
Measure the available space within your boat to determine the dimensions for the new drawer fridge. Considering the boat’s specific requirements, note the minimum height, length, and depth that can be accommodated. Also, keep in mind the space needed to comfortably open the drawer or door. Accurate measurements are vital for finding a suitable replacement fridge.
3. Choosing the New Fridge:
Selecting the right drawer fridge for your boat is crucial. Look for a fridge that fits within the measured dimensions and meets the specific requirements of your boat. In this case, the Vitrifrigo 75 is a recommended choice due to its compact depth and the ability to move the compressor part to the side of the fridge.
4. Planning the Installation:
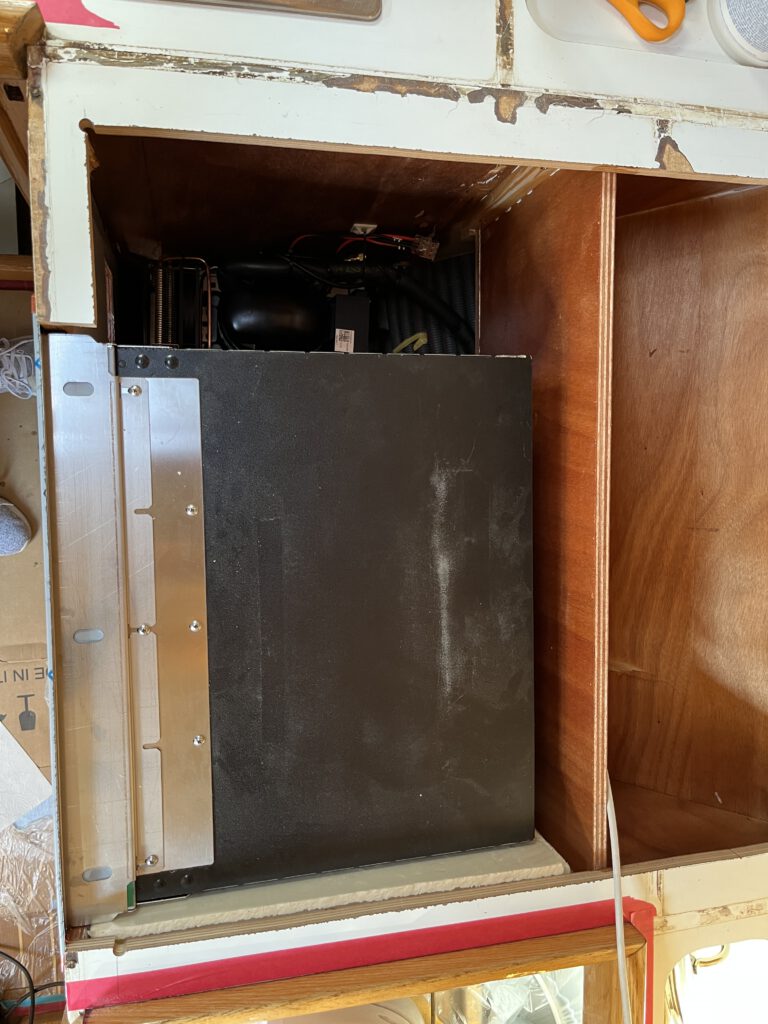
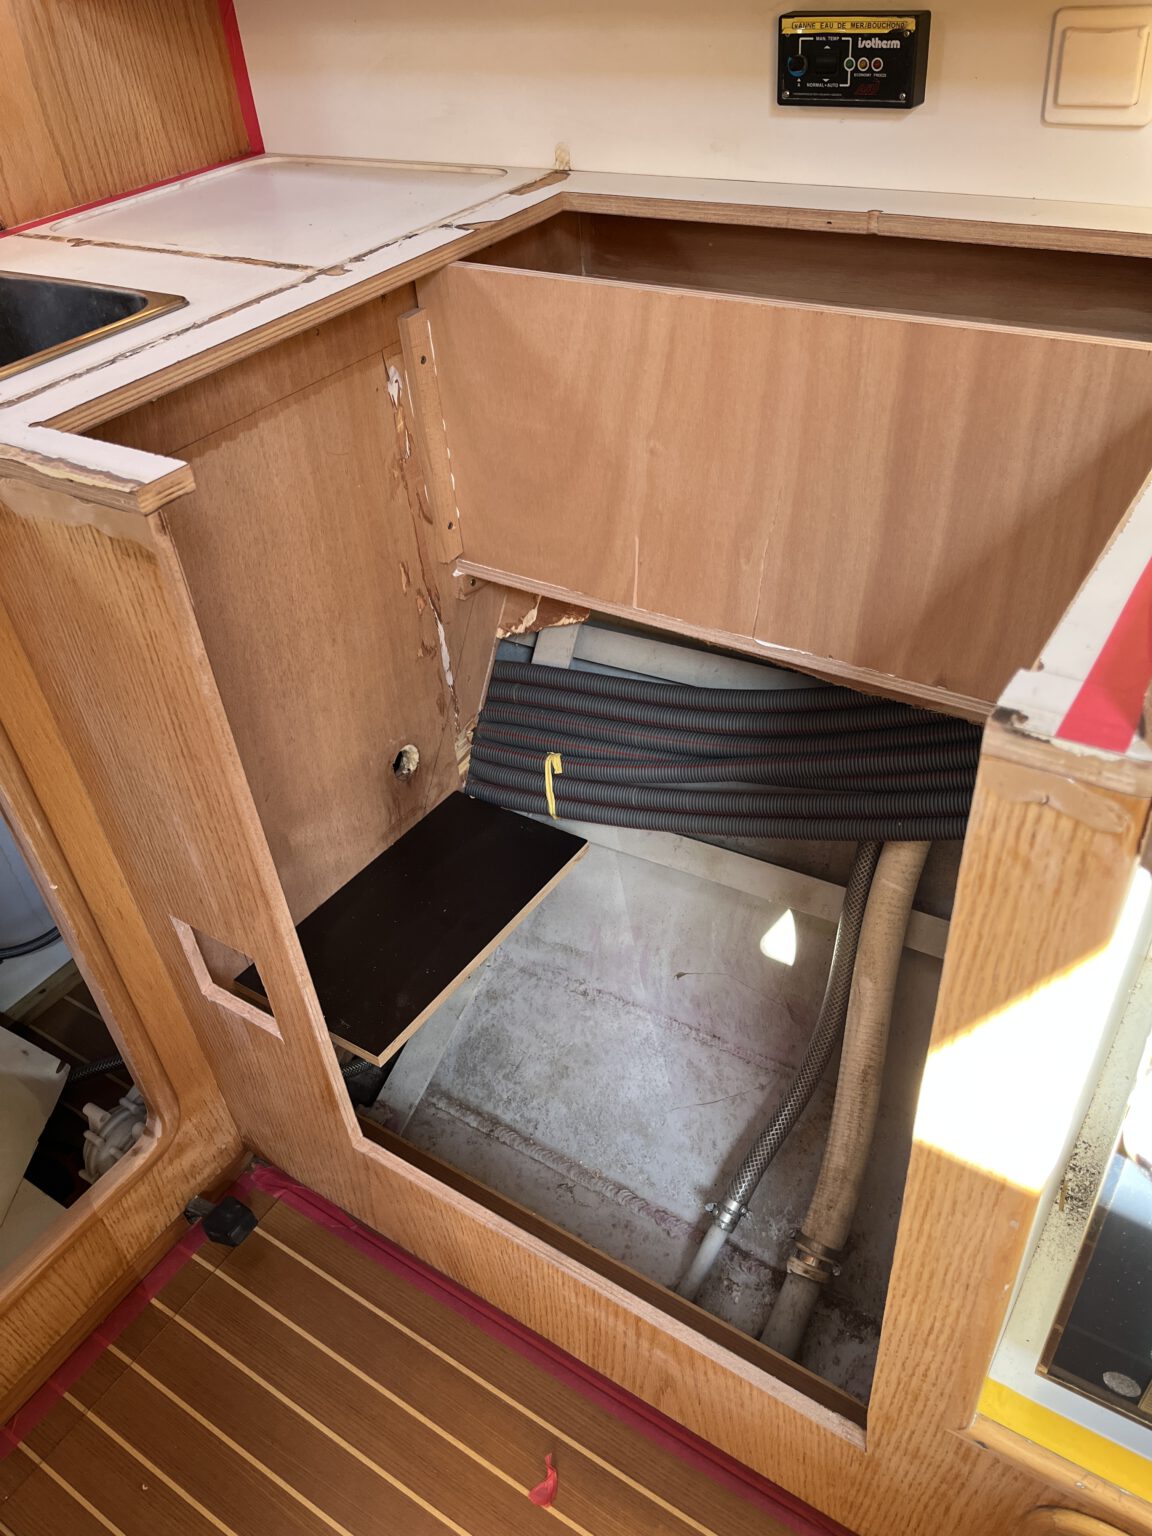
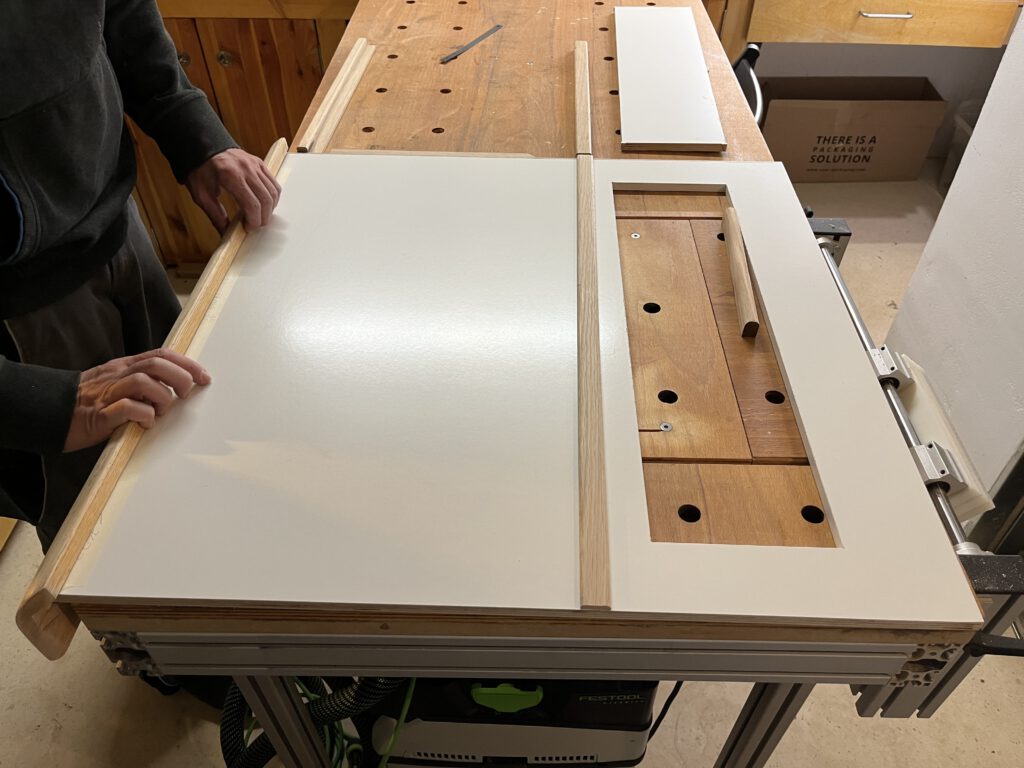
Upon the arrival of the new fridge, measure its exact dimensions to plan the necessary modifications to the boat’s furniture. As the boat may have unique configurations, you may need to cut the countertop to create an opening from above. Additionally, consider installing a small box furniture to provide extra storage space for kitchen utensils alongside the new fridge.
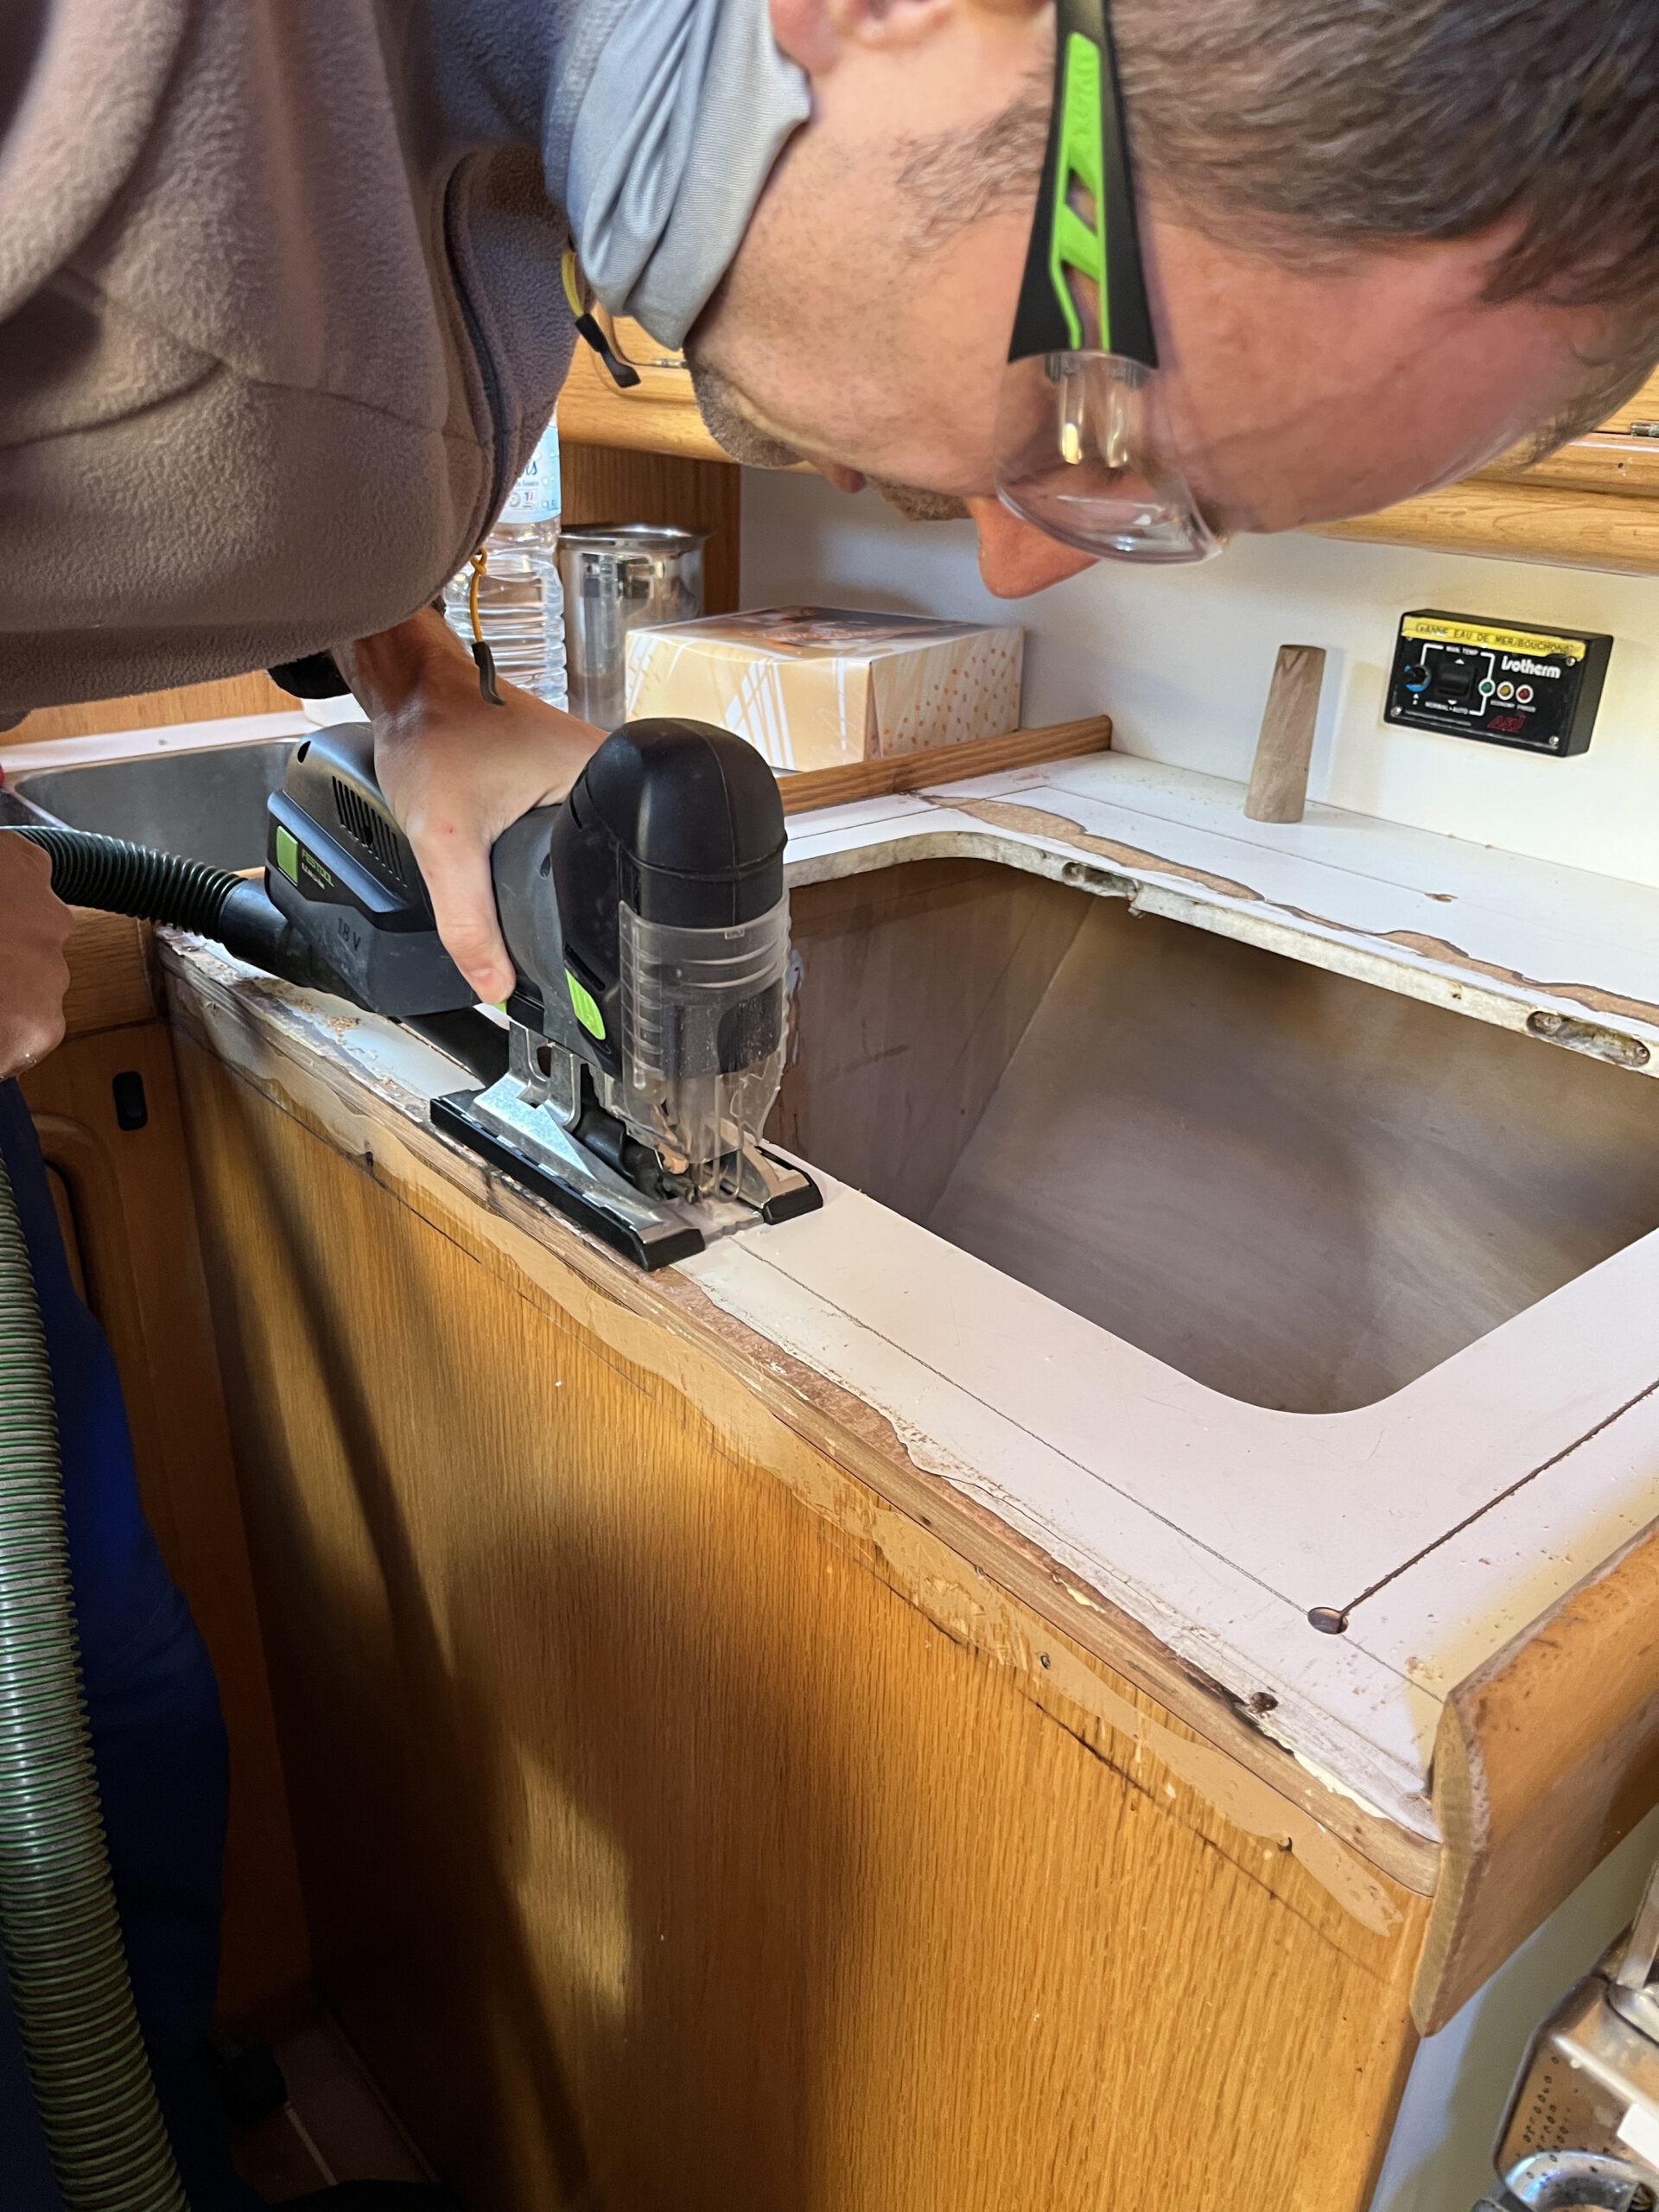
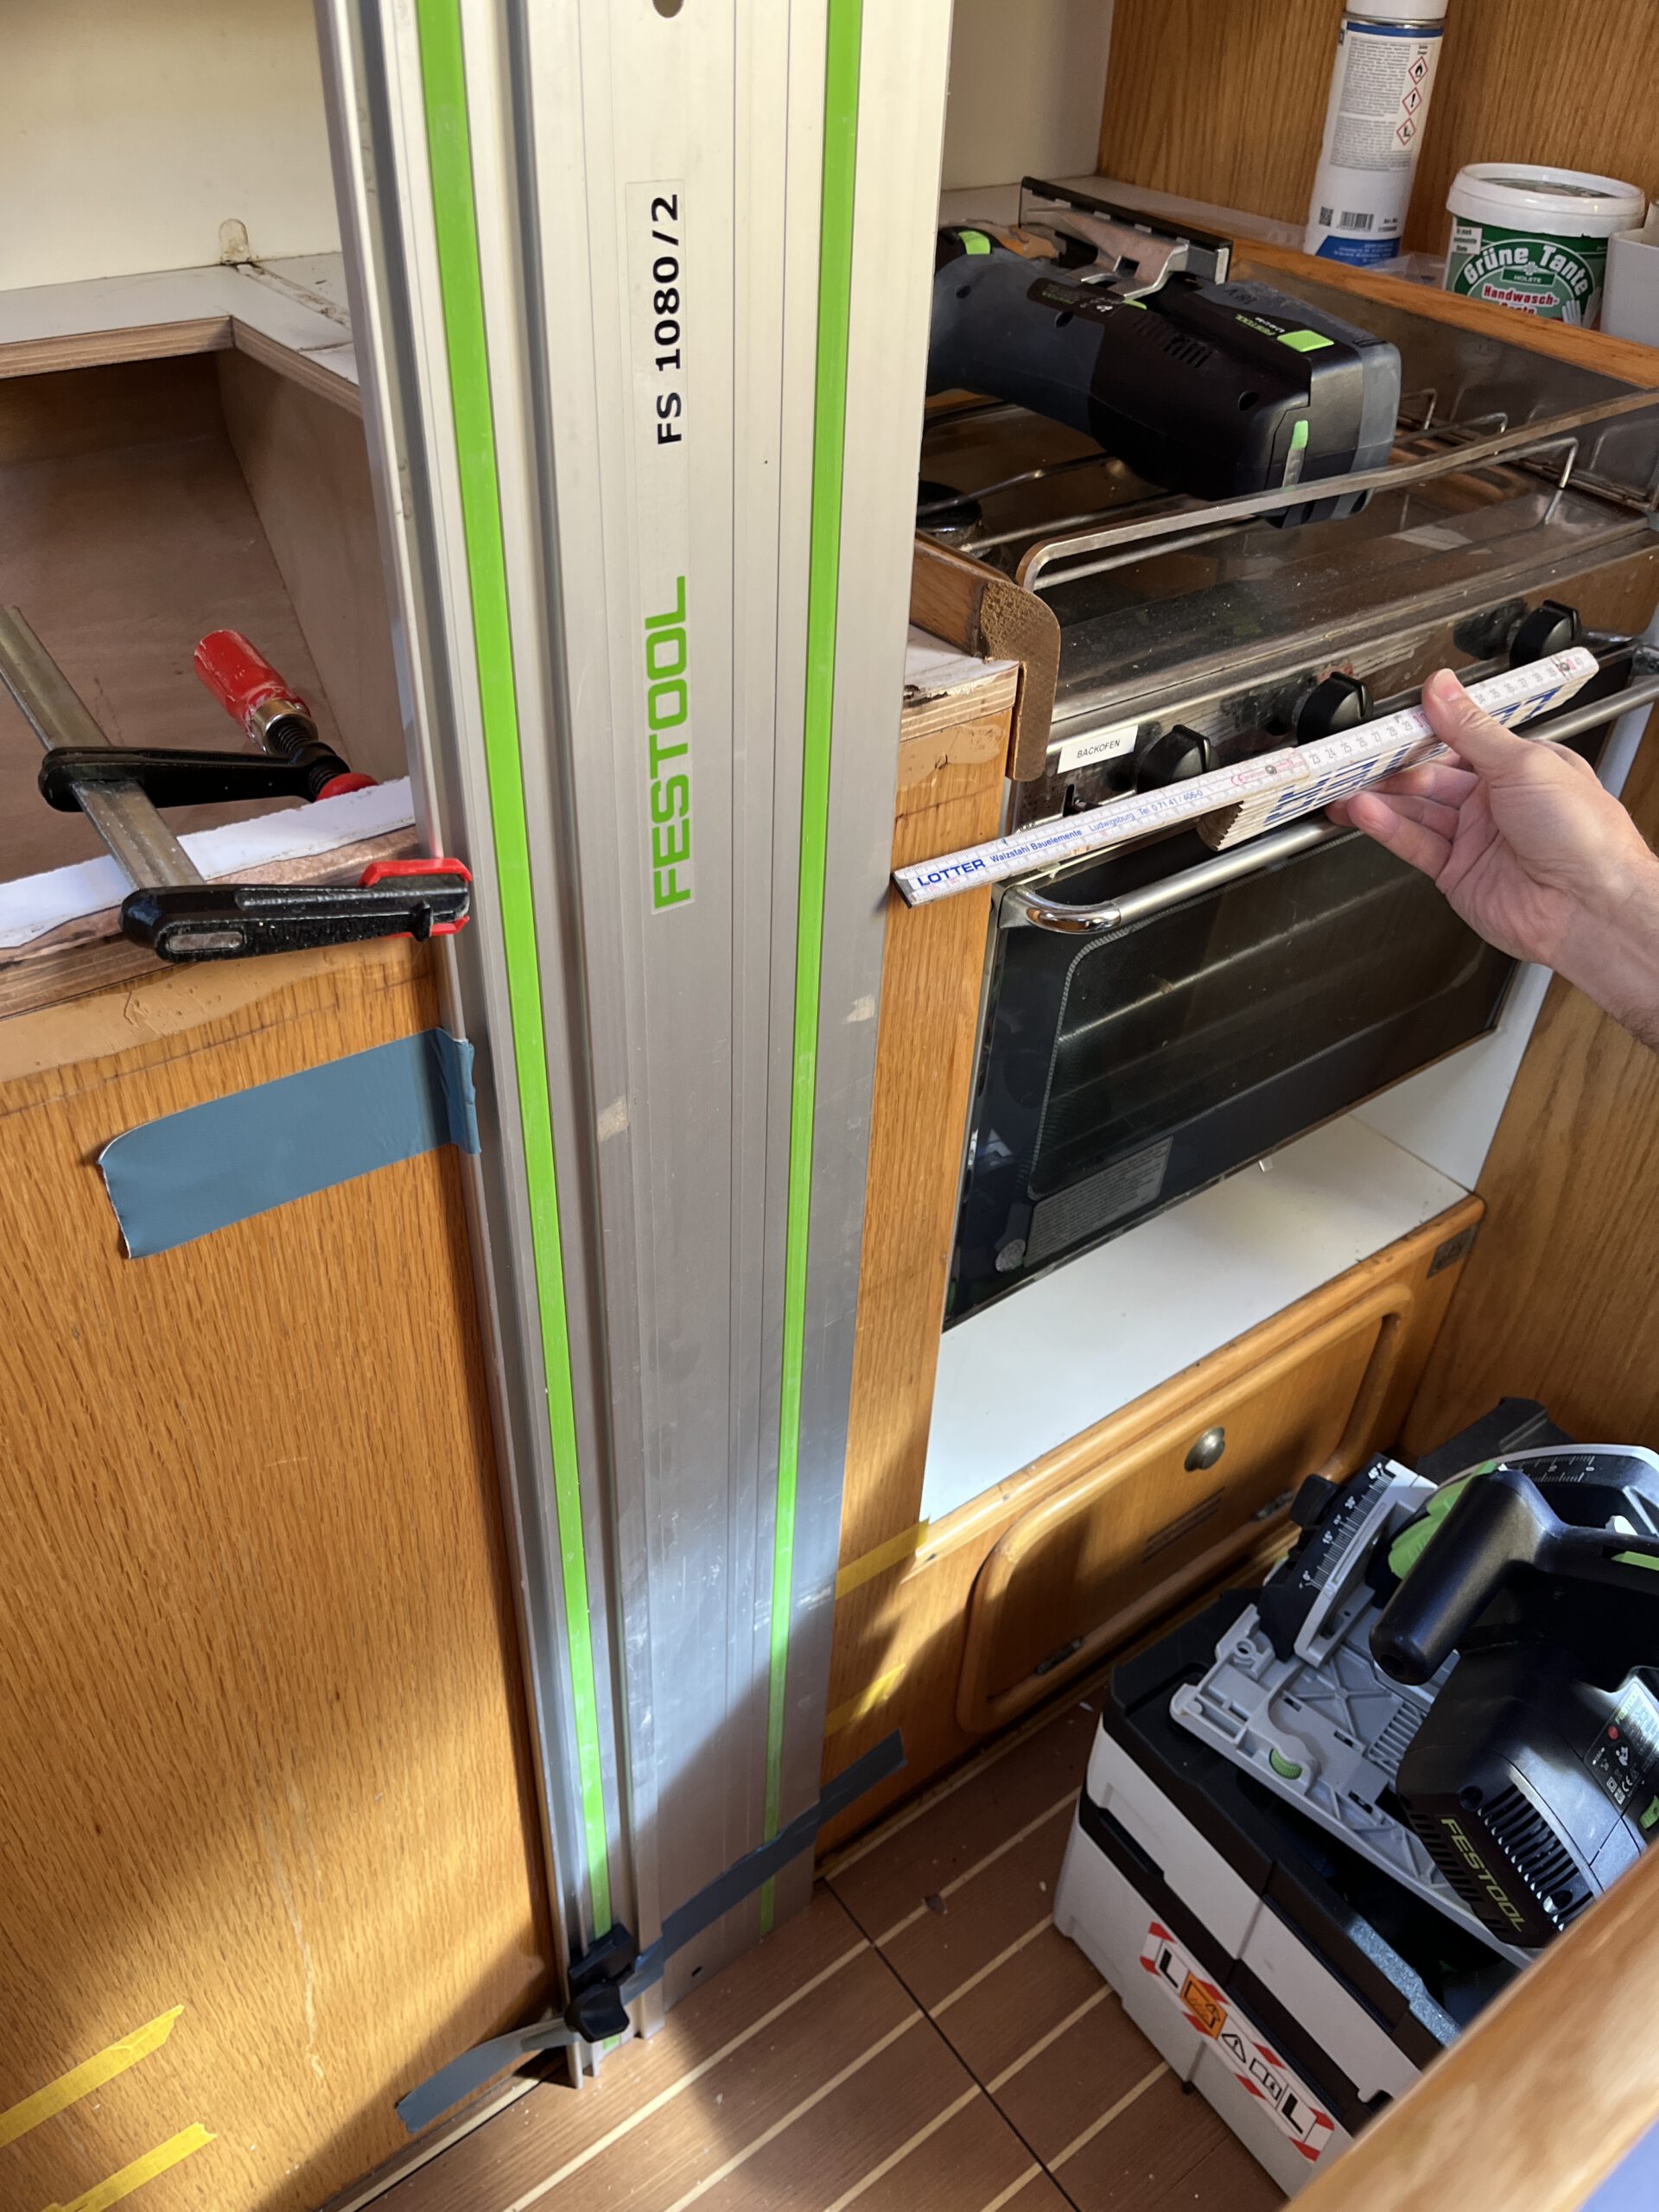
5. Precise Cutting and Installation:
When cutting the boat’s furniture to create the opening for the fridge, use a sharp tool and measure with precision, ensuring millimeter accuracy. Utilize a glider to guide the circular saw smoothly, and apply paper tape to the furniture to achieve clean cuts. For the corners of the opening, employ a jigsaw to ensure a neat and professional finish. Once the opening is prepared, slide the fridge into place and securely screw it onto the front of the furniture.
Due to sailing in warm waters, I opted to enhance the insulation of the fridge hull by using expanded polystyrene plates.
The Styrofoam may act as an additional layer of insulation, helping to maintain a stable temperature inside the fridge and reduce energy consumption.
6.Air Intake Opening
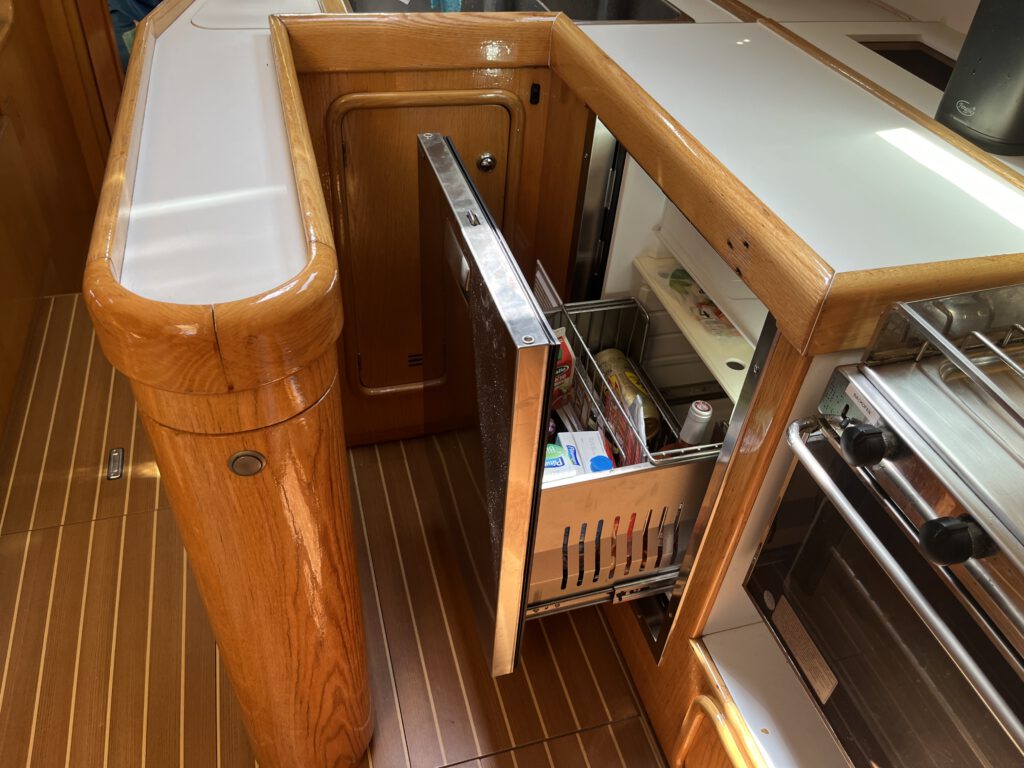
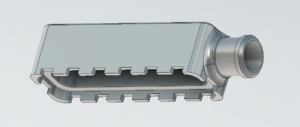
To ensure proper ventilation for the fridge’s compressor, create an air intake opening in a suitable location in front of the compressor. As the compressor is not integrated into the fridge but connected via a cooling system, it can be moved to the side of the fridge and installed on a self-made shelf to suit the specific requirements of your Alubat Ovni 435.
To enhance the aesthetic appeal of the air intake opening, consider installing a ventilation grid. Pay attention to the size of the opening, as it may be smaller than a standard grid (e.g., 150x150mm).
The air intake opening is located in the front of the heat exchanger, which requires occasional cleaning to maintain optimal performance. This opening also provides an opportunity to vacuum the heat exchanger, ensuring efficient heat transfer. However, it’s important to take precautions to avoid damaging the delicate lamellas during the cleaning process.
To protect the heat exchanger’s lamellas, I installed a 120x120mm protection grid typically used for computer accessories. This grid acts as a barrier, preventing any accidental damage while allowing sufficient airflow for proper heat exchange.
7. Finishing Touches:
After completing the installation of the fridge, it is important to follow the manufacturer’s instructions and wait for a day before testing the unit. This waiting period allows the fridge to stabilize and ensures optimal performance, as outlined in the manual.
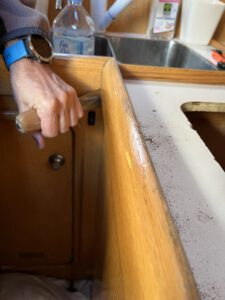
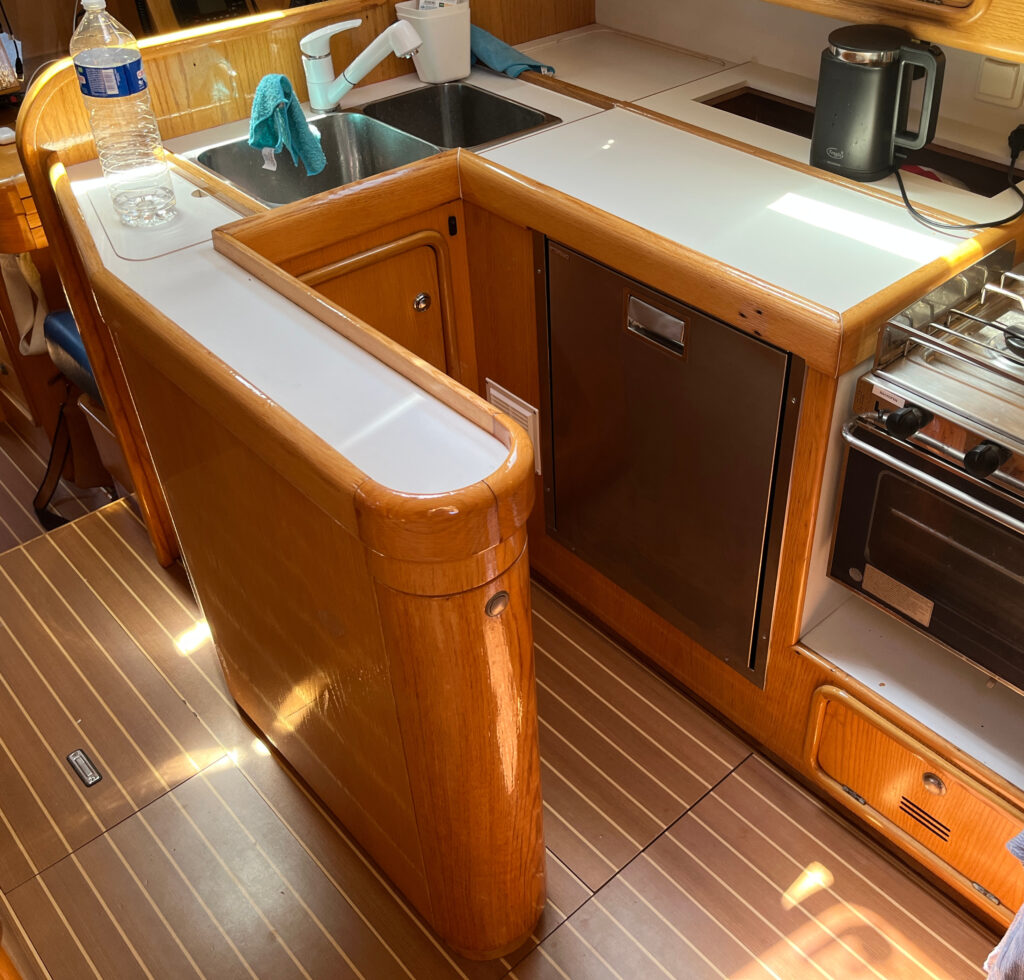
Once the required waiting time has passed, test the fridge. If all is fine proceed to mount the new countertop over the installed fridge. Take care to protect and preserve the old handrails and borders of the furniture with varnish.
Conclusion:
Congratulations on successfully upgrading the toploader fridge in your boat to a drawer fridge. This modification optimizes space, improves organization, and enhances energy efficiency, all essential factors in a boat environment. The new fridge offers a tidier interior, includes a freezer for ice cubes and ice cream, and consumes less electricity than its predecessor. Enjoy the benefits of your transformed fridge space!
If you followed me to the bottom of this blog, you might be interested in: