It’s time to connect the LiFePO4 batteries on my boat!
In my previous blog post, I talked about installing LiFePO4 batteries on a boat, selecting the suitable battery format, using a forklift to transport them, and modifying the aluminum box to accommodate the batteries. I also discussed securing the batteries with attachment points and belts, as well as placing the engine starter lead-acid battery in a protective plastic box.
After choosing and installing LiFePO4 batteries on your boat, the next crucial step is connecting them to your boat’s electrical system. While the process may seem daunting, especially if you’re not an electrician, it’s essential to ensure your boat’s power source operates efficiently and safely. In this blog post, we’ll share some ideas and insights on how to connect LiFePO4 batteries, but we advise consulting a professional electrician for your specific boat’s needs.
Understanding Your Boat's Electrical System
An electrical system on a boat can appear quite confusing, particularly when it has been upgraded or modified by different individuals over time. As various people make changes to the system, it becomes increasingly challenging to maintain a clear overview of the connections, components, and functionality.
One major challenge in understanding a boat’s electrical system is the presence of numerous cables running throughout the vessel. These cables connect various electrical components, and without proper organization, it can be difficult to identify which cable serves what purpose or where it leads. This issue can become even more problematic when troubleshooting or making further changes to the system, as it increases the risk of disconnecting the wrong cable or creating incorrect connections.
In the example discussed, the two LiFePO4 batteries and the lead-acid battery serve as two separate banks, each charged by a different alternator. This setup eliminates the need for the old diode block that previously separated the batteries. A Victron MultiPlus charger inverter, which has a special output for a small starter battery, can handle the starter battery separately from the service bank.
The two banks, consisting of the LiFePO4 batteries (service bank) and the lead-acid battery (starter bank), require separate charging systems due to their distinct charging characteristics and purposes.
Different charging profiles: LiFePO4 and lead-acid batteries have different charging profiles, meaning they require different voltage levels and charging stages for optimal performance and longevity. A separate charging system ensures that each bank receives the appropriate charging conditions specific to its battery chemistry.
Different purposes: The service bank (LiFePO4) powers the boat’s appliances and electronics, while the starter bank (lead-acid) is dedicated to starting the engine. Separating the charging systems helps prevent the depletion of the starter battery due to the service bank’s demands, ensuring the engine can always start when needed.
Protection from overcharging and undercharging: Separate charging systems help protect each bank from potential overcharging or undercharging, as they can be tailored to the specific charging requirements of each battery type. This results in improved battery lifespan and performance.
Independence during failures: In case one charging system fails or experiences issues, the other bank can still function independently. This redundancy increases the overall reliability and safety of the boat’s electrical system.
Connecting the LiFePO4 Batteries
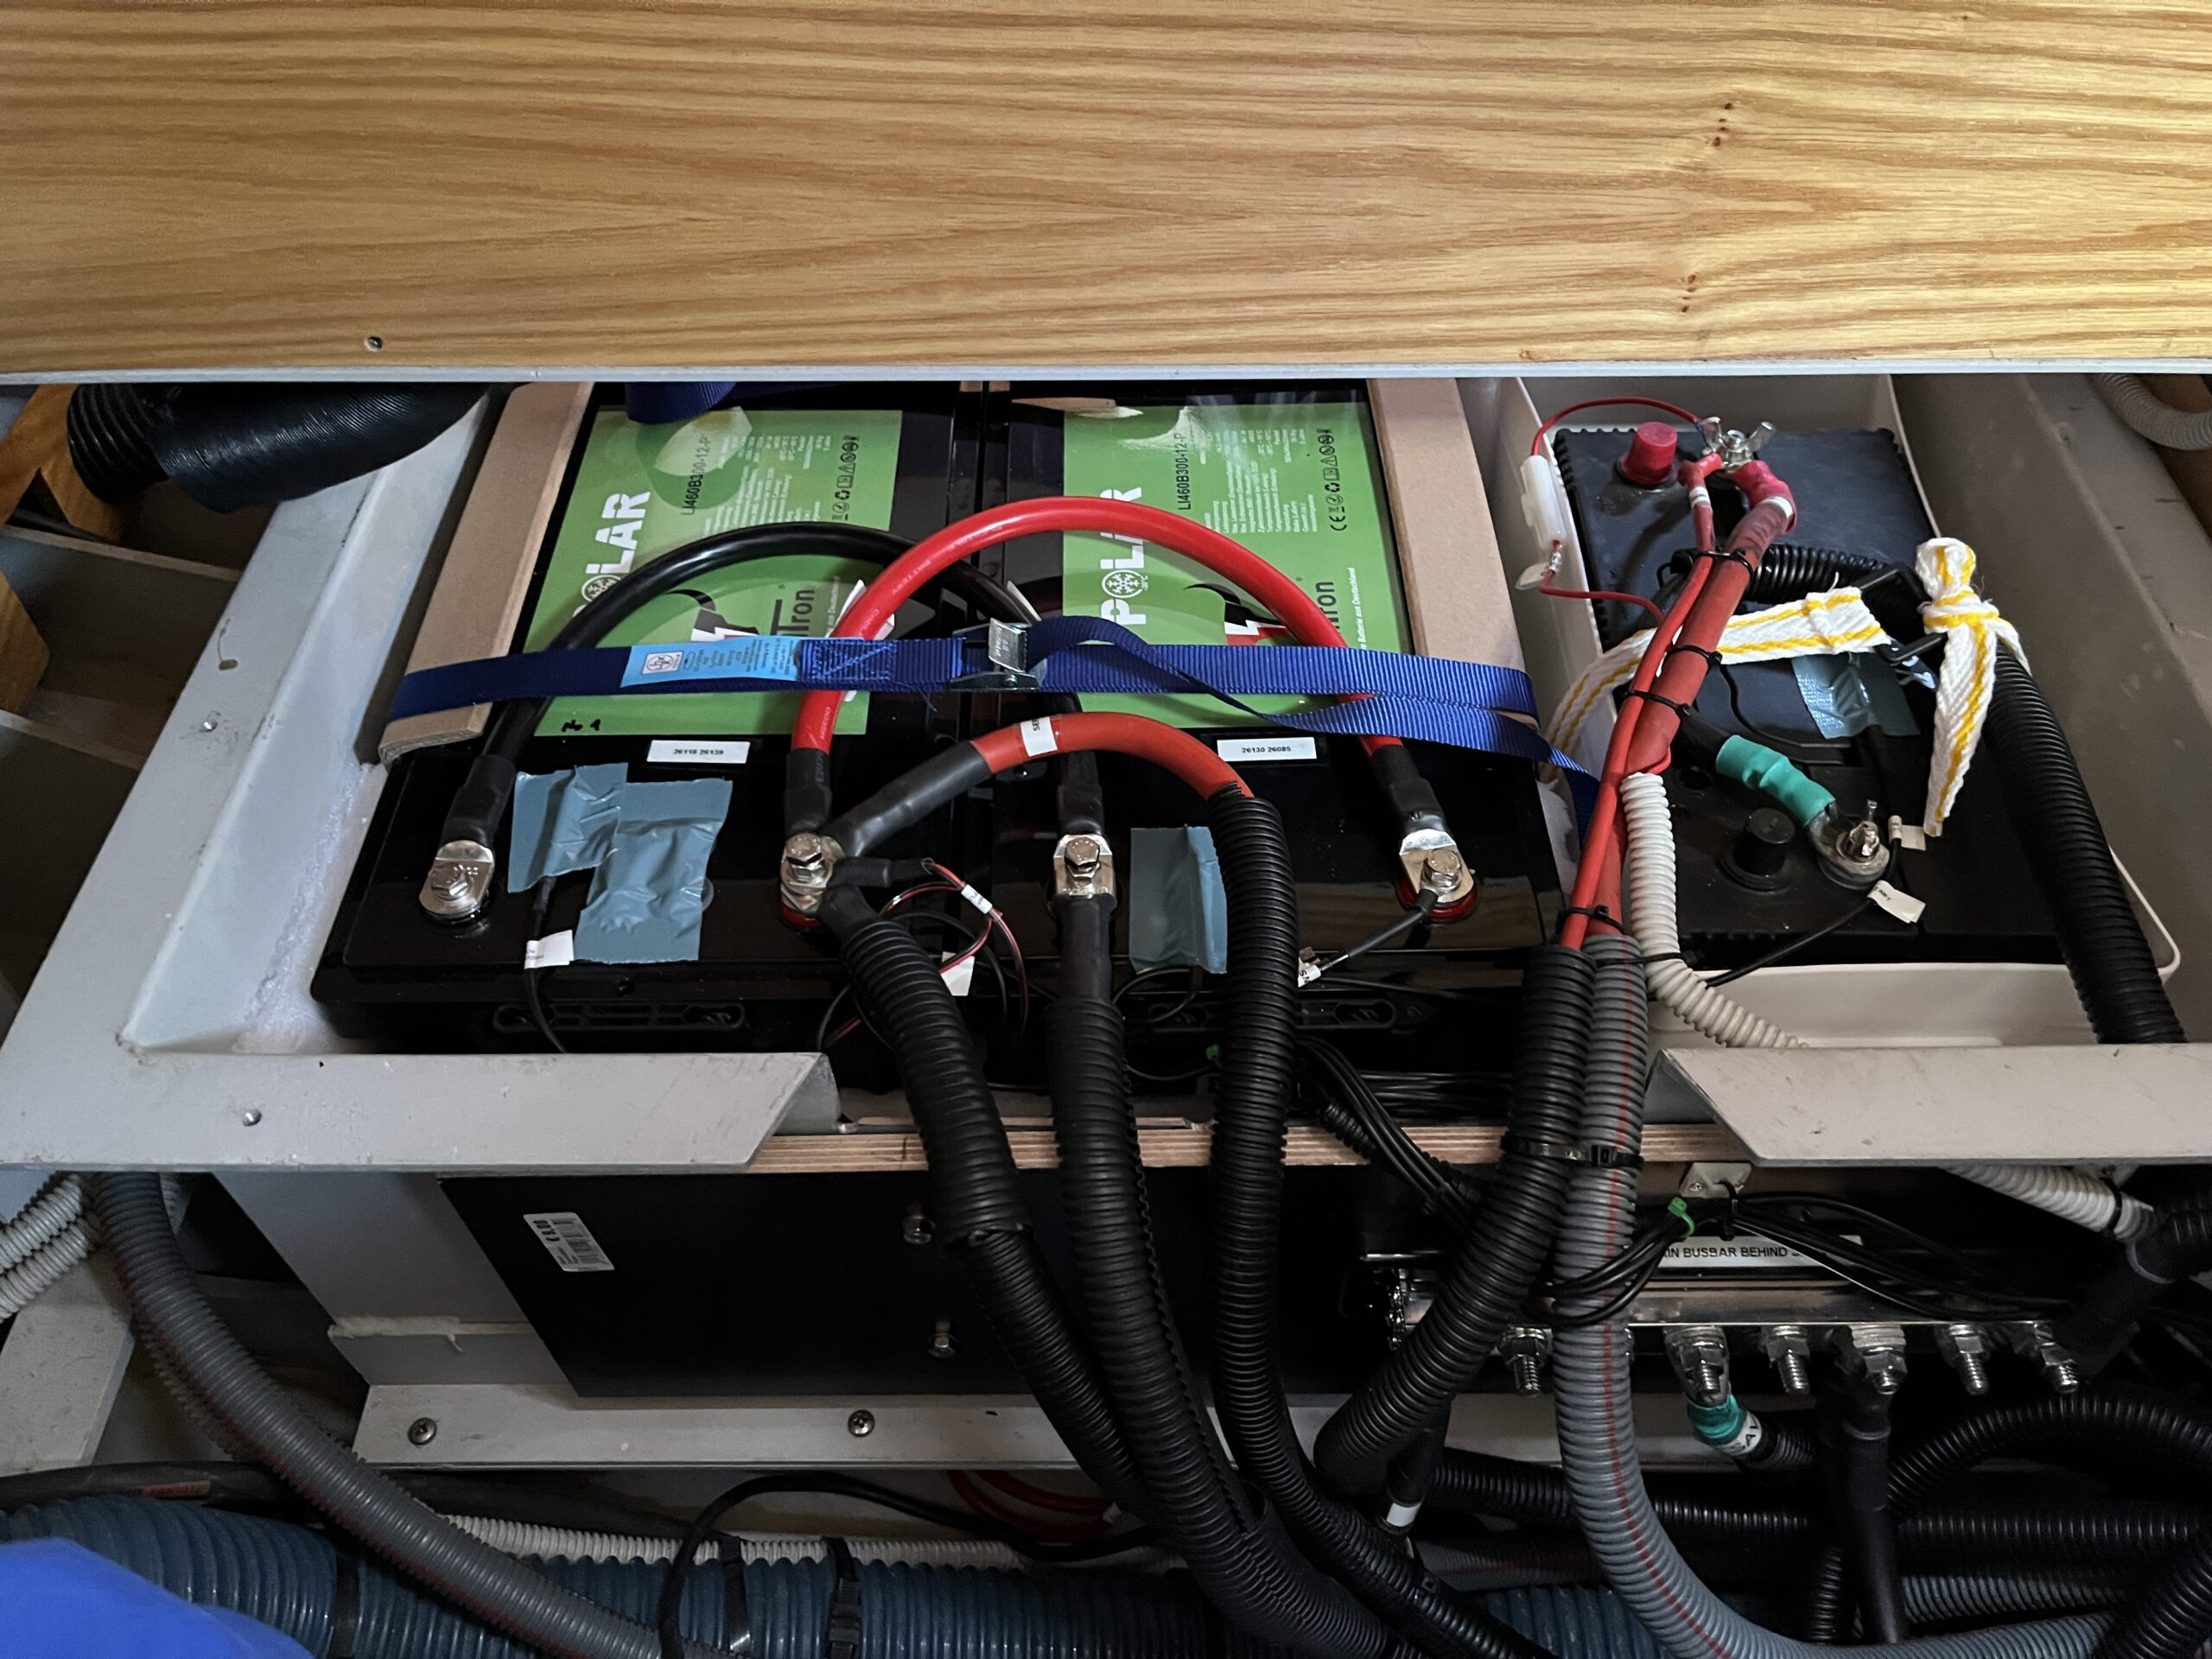
The two LiFePO4 batteries are connected in parallel to achieve a combined capacity of 920Ah at 12.5V (varying with the state of charge from 12V to 14.2V). Connecting two LiFePO4 batteries in parallel involves connecting their positive terminals (+) together and their negative terminals (-) together. By doing so, the combined capacity of the batteries is increased while maintaining the same voltage level.
In this example, each LiFePO4 battery has a capacity of 460Ah and a voltage of 12.5V. When connected in parallel, their capacities are added together, resulting in a total capacity of 920Ah (460Ah + 460Ah) while maintaining the same voltage level of 12.5V.
This parallel connection enables your boat’s electrical system to utilize the increased capacity of 920Ah at 12.5V, enhancing the overall power output and performance without altering the voltage level. This is particularly useful in scenarios where your boat requires additional power capacity but not necessarily a higher voltage level.
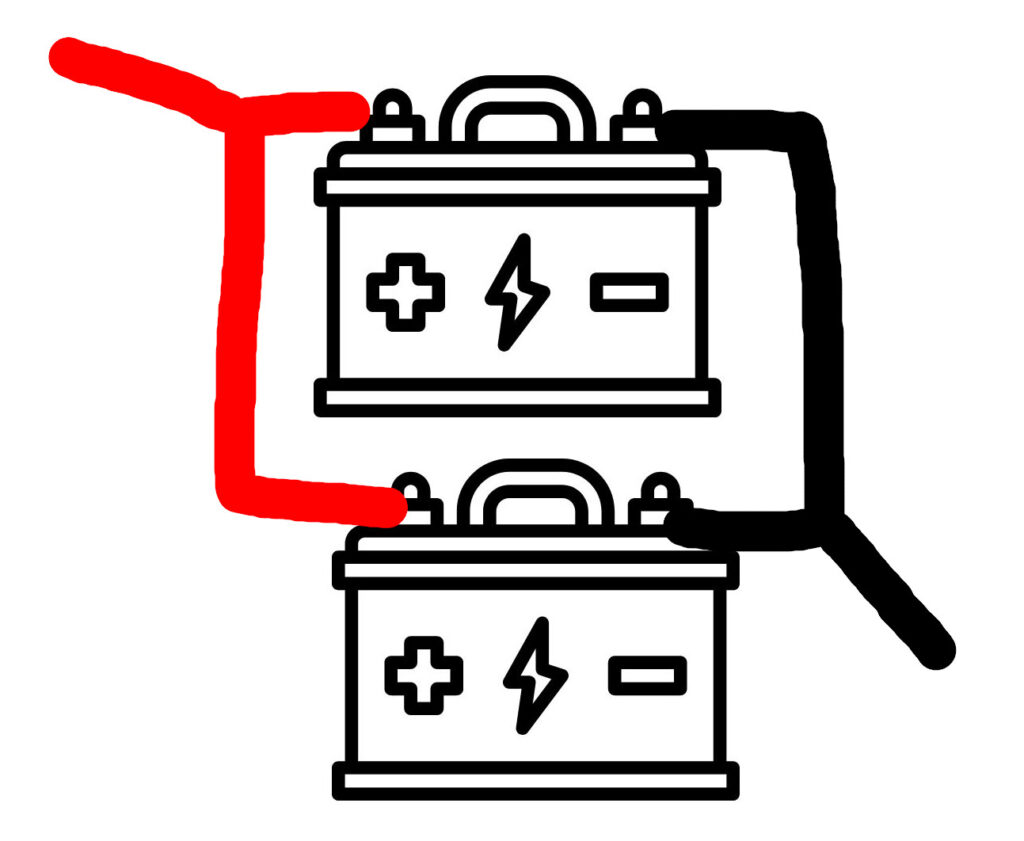
The corresponding black and red cables should be of equal length. Victron offers an app that can help you calculate the appropriate cable dimensions for your specific setup. [ Victron Toolkit ]The negative connection runs from the batteries to the negative bar, while the positive connection goes to the main fuse rated at 450A. These cables are in our case 70×2 mm2 s under 1m in length.
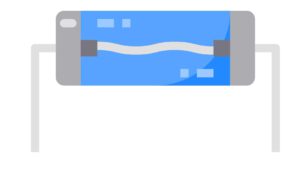
Although the batteries can output more than 450A, the boat’s electrical system components and cables are designed for a maximum of 450A.
A fuse is a safety device designed to protect an electrical system from excessive current flow. It consists of a wire or a metal strip that melts when the current flowing through it exceeds its rated capacity. Once the fuse melts, the electrical circuit is broken, preventing potential damage to the system’s components or wires due to excessive current.
It’s essential to select the appropriate fuse rating based on the capacity of your electrical system to maintain safety and performance.
Distributing Power to Electrical Components
From the main fuse, the positive connection is distributed to the various electrical components through fuses and cables sized according to each component’s specific electrical demand. It’s essential to ensure that the negative bar connects all the boat’s negative connections, including all batteries and the ground of the installation.
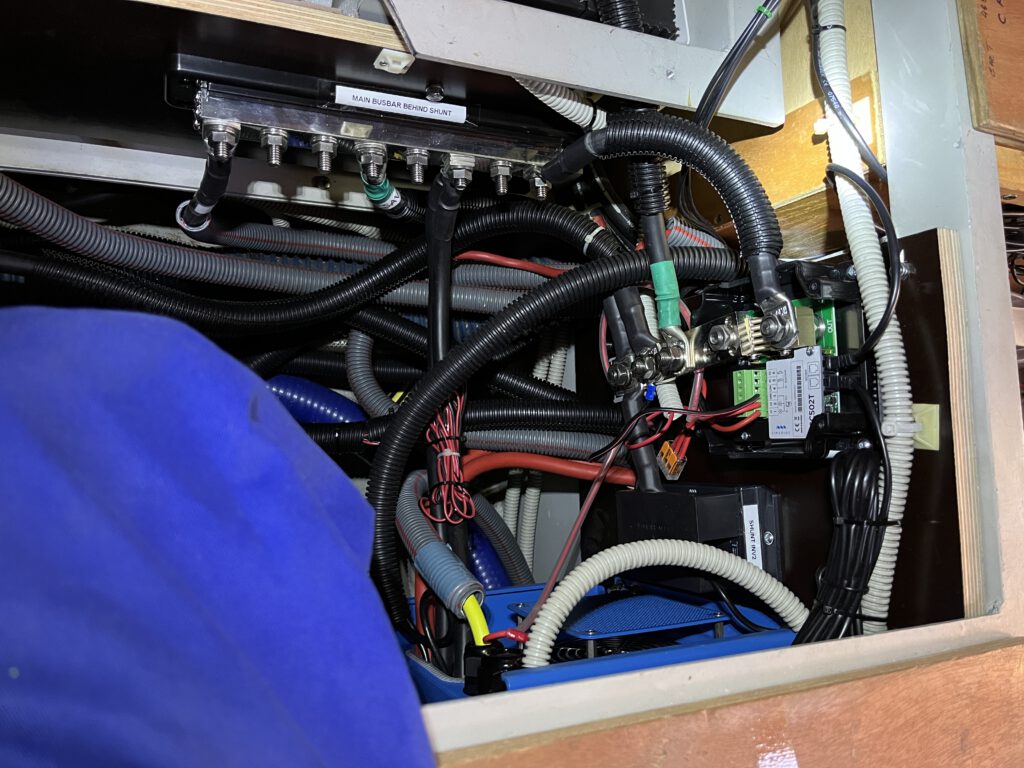
In a boat’s electrical system, the negative bar serves as a central point where all negative connections converge. This includes the negative terminals of all batteries (LiFePO4 and lead-acid) and the ground of the installation. The purpose of connecting all the negative connections to a common negative bar is to establish a complete and consistent return path for the electrical current.
By ensuring that the negative bar connects all the boat’s negative connections, you create a well-organized and efficient electrical system. This allows for proper current flow and helps minimize potential issues related to grounding or unbalanced loads in the system.
The engine battery, in this case, the lead-acid battery, is separated from the service bank on the positive side. This separation is necessary to keep the starting and service loads distinct from each other. While the service bank (LiFePO4 batteries) powers the various appliances and devices on the boat, the engine battery is dedicated to starting the engine. Separating the engine battery on the positive side ensures that the starting load does not draw power from the service bank, preventing potential issues with battery depletion or interference with the boat’s other electrical components.
Managing Cables and Future Considerations
Dealing with numerous cables in a boat’s electrical system can be a daunting task, as each cable serves a specific purpose and connects different components. It is crucial to maintain an organized system to ensure proper functioning, minimize potential issues, and facilitate future changes or maintenance tasks.
Labeling each cable is an effective way to keep track of its purpose and destination. By doing so, you can quickly identify which cable connects to which component, making it easier to troubleshoot issues or make necessary adjustments. This approach saves time and effort and reduces the risk of accidentally disconnecting the wrong cable or creating an improper connection.


In upcoming blog posts, we’ll discuss implementing a powerful alternator for the LiFePO4 batteries with a regulator. Stay tuned for more insights on optimizing your boat’s power source with LiFePO4 batteries.
If you followed me to the bottom of this blog, you might be interested in:
at Le Coeur Vert Boutique
